Saturday School - HDR
Raise your hand if you have heard the abbreviation HDR. Ok, not keep your hand raised if you actually know what it stands for and does. No worries, because this is going to be a crash corse in HDR.
First things first, lets get this straight, High Dynamic Range. Now that we know this, here is what it means. Combining multiple photos with different exposures to create a beautiful photo. This may sound hard, but don't worry, there is software out there to help! My favorite happens to be Photomatix (but Photoshop CS5 has an HDR emulator and there may even be other softwares out there that will do the same).
Now that you know what it is and what software to use, here is how to do it all. It starts with taking the photos. For best results, you should take (at least) three photos. But wait, it's not that easy, we need to take them in different exposures. Either switch to manual mode on your camera or you can turn on bracketing (check your users manual if you are unsure as to how to do this). The order that you take the photos doesn't really matter. You will need one photo that has even exposure, one that is over exposed, and one that is under exposed. By doing this you are (hopefully) capturing the whole range of color in the shot.
After taking the photos, import them into you computer and choose your software of choice. If you are brand new, allow me to peer pressure you into checking out Photomatix. You can download a fully functioning trial (and if you ever want to buy it it will remove that pesky watermark). Tweak the setting till you get the photo to look just right. Some people like to keep it really natural, and others will make it totally cartoon like.
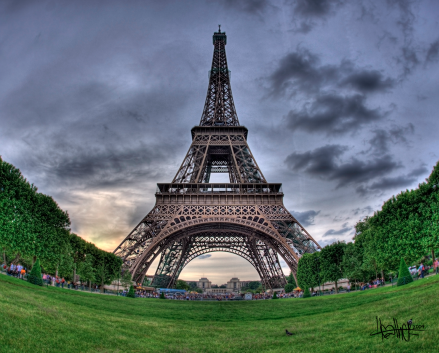
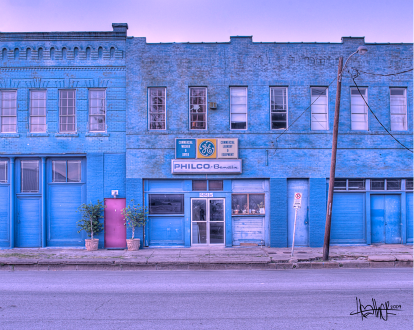
So what is a lesson without some samples:
and it also does black and white:
No go out and play with some HDR!


0 comments:
Post a Comment