Hybrid Hump Day - Treat Bag Tutorial
Joana here with a super-easy treat bag tutorial for you. This bag is commonly known as a 2-5-7-10 bag because that's where you score the landscape-oriented 8.5" x 11" piece of paper to fold it into a bag. It goes together rather quickly and you can create it out of one sheet of paper.
You'll need a digital kit, a piece of 8.5" x 11" sheet of paper, scissors, ribbon, and a dry permanent adhesive (I used Helmar's Quick-fix permanent adhesive runner). You can also use a border punch to add a decorative edge to your flap, and of course any additional supplies to embellish your bag. You can see I added a couple of Prima Marketing paper flowers and a flat-backed pearl embellishment for the flower center. My border punch is the scalloped border punch by Fiskars.
Open a new document in your software editing program (I use Photoshop CS5) that is 11" wide x 8.5" high.
Go to View > New Guide and add vertical guides at 2", 5", 7", and 10".
Go to View > New Guide and add horizontal guides at 2" and 7".
Add a new layer. Select the entire document (I use the keyboard shortcut ctrl+A). Select the rectangular marquee tool. While holding down the alt key, move your pointer to the gridlines that intersect at 2" from the top and 7" from the left. Drag the marquee square to the top left-hand corner. Now do the same with your pointer starting at 2" from the top and 10" from the left (remember to hold down the alt key or you'll have to start over).
Select the paint bucket tool and click inside the selected area. Click the paint bucket to fill this area. This action creates your clipping mask to create your bag.
Now select your paper and clip it to the mask you just created.
You want to decorate the area that is between the 2" and 5" vertical grid lines, and stay within the 2" and 7" horizontal grid lines. Keep in mind that you will have a flap that folds over the top.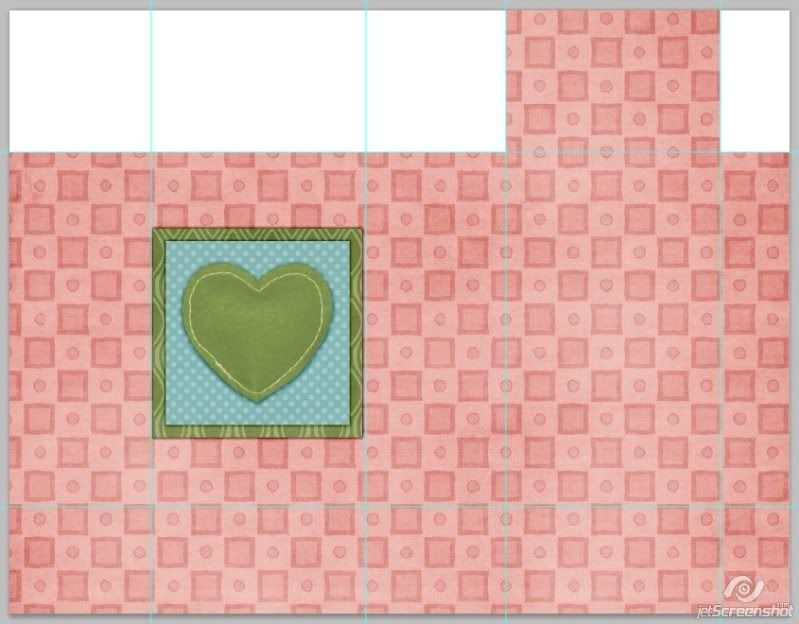
Print your document. Cut away the empty white areas at the top.
Score your document on the 11" side at 2", 5", 7", and 10". Score the document on the 8.5" side at 1.5" from the bottom and 2" from the top. Now cut out the white area at the top. Make cuts along the score lines at the bottom that are 1.5" in length, they will go up to the score line you made at 1.5" from the bottom.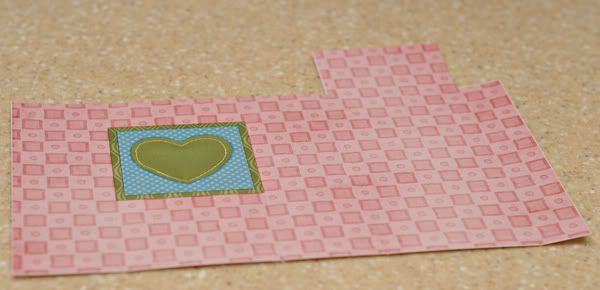
Punch the decorative edge on the top flap of the bag now if you are going to add one.
Fold along all score lines. Fold the bottom flaps together to form the bottom of the bag. 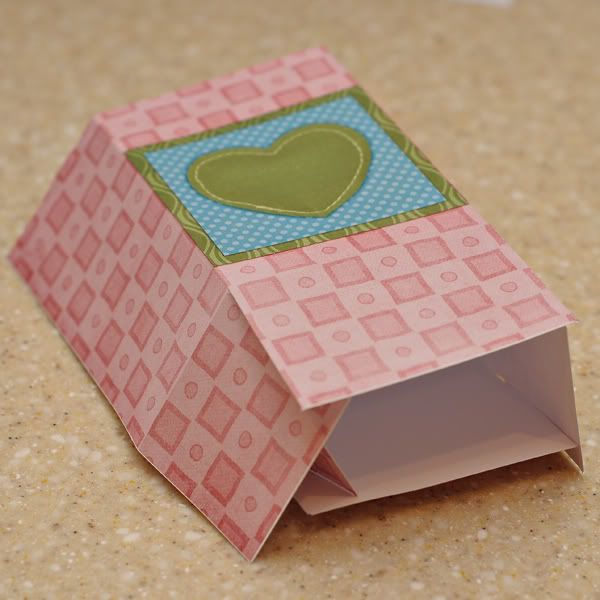
Apply adhesive to the last flap and press down from the inside. Apply adhesive to the small flap on the side and tuck it inside the bag.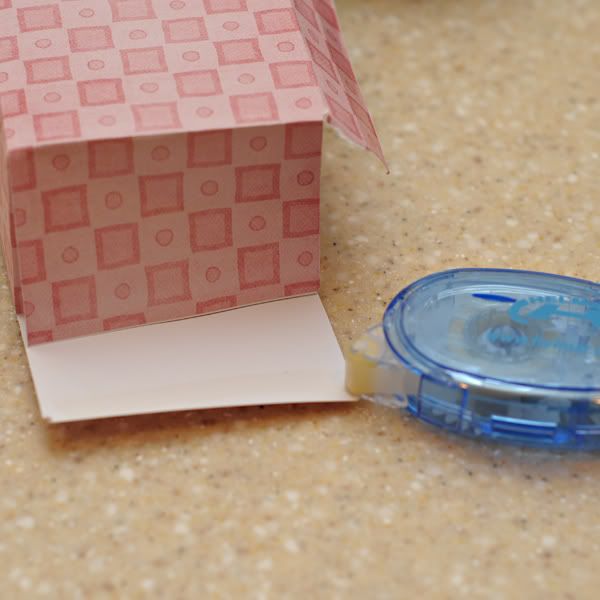
Pinch the top of the bag together.
Punch holes in the top flap of the bag. Fold it and mark where the holes are with a pencil. Punch holes on the front side of the bag. 
Run the ribbon through the holes on the bag. 
Add your goodies to the bag, and then close it by threading the ribbon through the holes on the flap and tying a knot or bow. Further embellish the front of the bag if you wish.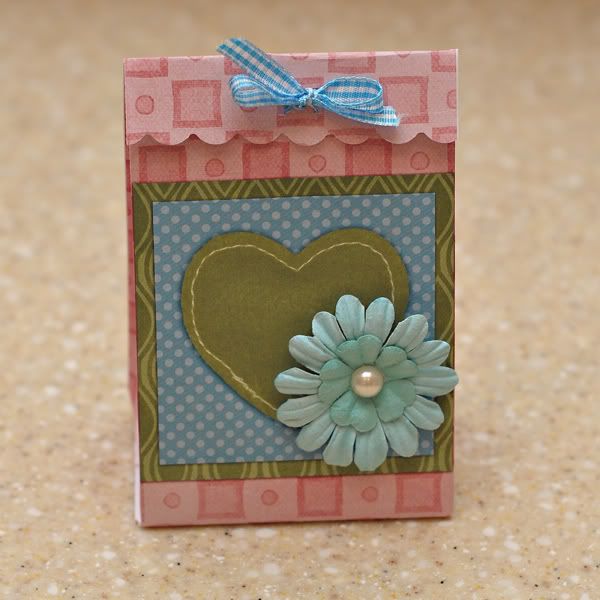
If you make one, please come back and leave a comment with a link to your gallery so we can see your handiwork! Thanks for stopping by!





0 comments:
Post a Comment