Hi Everyone! Hope your Saturday is going great! I'm here today to share more information about the Brush Tool in Photoshop.... but before I do...
Can you believe the news? Jennifer Fox Designs is now at 9th and Bloom!! Woot! How cool is that!? I hope you've stopped over there, checked out her goodies in the store! You might also want to stop here and see how you can win a chance to join the Creative Team for 3 months! Good Luck!
About the Brush Tool and the Options
First, you need to start a new document, layout or an existing project. You will select the Tool Brush from the tools toolbar. This is what the Brush Tool is, and what other tools are available.

The Options Palette on the top looks like the picture below... and is pretty easy to use. You can change the size of the brush, as well as play with the hardness of the brush that you will use. When you change the number of pixels of a brush, you are changing the Hardness. A higher number on the Hardness slider will make the edges on your brush more defined. A lower number on the Hardness slider will make the edges on your brush less defined.
On the Options palette you can choose the Mode that you want the brush to have, the actual stroke. The Opacity percentage will change the opacity of the brush stroke. Lowering the percentage will make the brush stroke more transparent, while raising the percentage will make it less transparent.
There is also a button for Flow. This allows you to select how much paint will come out of the brush when applied to your document. The higher the flow, the more paint, as well as the lower the flow, the less paint used when you click your mouse.
There is also an Airbrush feature available. This allows paint to come out of the brush the whole time you are moving your mouse.
If that isn't enough to learn... there is a whole nother menu under the brush presets. This is what that menu looks like:
There are a lot of setting here, but many are pretty self explanatory -- as long as you play with them, try them out, and experiment. Here are some of the options in this menu:
- Brush Tip Shape -- determines the main shape of the brush.
- Shape Dynamics -- allows you to modify the shape of the brush.
- Scattering -- this option determines how closely the brush marks are to the stroke. This can add a nice randomness to your stroke.
- Texture -- Adding a texture to your brush can really show some depth. Photoshop allows you to apply any of your Texture presets to your brush.
- Dual Brush -- Combining two different brushes using the Dual Brush option can really create some fantastic effects - unavailable if you were only using one brush.
- Color Dynamics -- this option allows for modification of the color of the stroke. Playing with this will allow you to create some interesting color variations.
- Noise -- Creates random noise within your brush shape.
- Wet Edges -- If you keep the edges of your brush at the highest opacity, and lowering the inside of your brush's opacity will create a similar look to watercolor, hence the Wet Edges.
- Airbrush -- works with Flow, that is on the Menu bar above.
- Smoothing -- Smoothes the curves of the stroke.
- Protect Texture -- This can allow you to make sure the same texture is used for every brush with a texture.
Brush Tool Shortcuts:
- B -- Brush Tool
- Shift + B -- Rotate through Brush tools (i.e. Brush, Pencil, etc)
- F5 -- Show or hide Brushes palette
- [ -- Decrease brush diameter
- ] -- Increase brush diameter
- Shift + [ -- Decrease brush hardness by 25%
- Shift + ] -- Increase brush hardness by 25%
- , -- Previous brush
- . -- Next brush
- Option (hold) -- Temporarily switch to Eyedropper tool
- Shift + Option (hold) -- Temporarily switch to Color Sampler tool
- Command (hold) -- Temporarily switch to Move tool
- Command + Option (hold) -- Duplicate and Drag layer
- Space (hold) -- Temporarily switch to Hand tool
Now for something quick to teach you a fun way to use the tool! We are going to add some really basic watercoloring to a paper. I've used a piece of paper from Jennifer's
Tomorrow's Another Day Kit to show off my example.
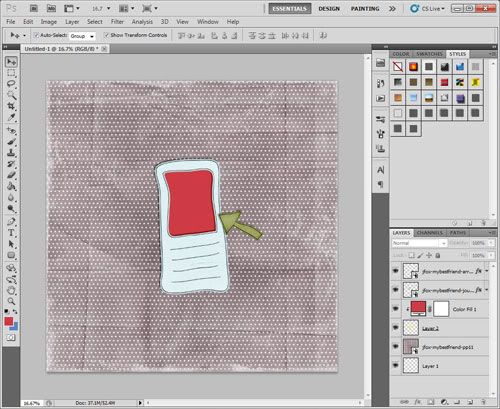
First, you will open the paper in a separate document and apply the shadow style you would like. Next... Command and Click on the Notebook Paper, so you see the marching ants.
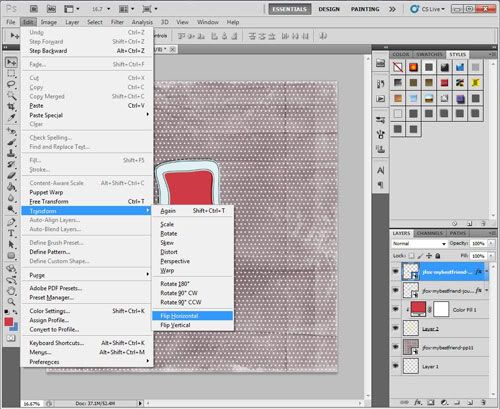
Click on Layer > New > Group. Then click on Add a Layer Mask, which is this little button

on the layers Palette. Create a new layer above the notepaper.
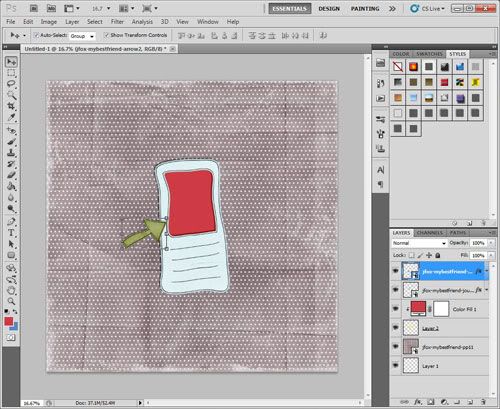
First, I am going to select the Pencil Tool within the Brush tool, change the opacity to 30% on the menu bar options, and make my brush size about 125 pixels. Drag your cursor over the paper to areas you want to add watercolor to. This is brown added:
Next, I did the same technique, changed up the opacity and brush sizes, and added faint Pink and Green layers. I also played with the blending modes of each color layer. My favorites are Multiply, Linear Dodge, Linear Burn... you have to play with them all! Here is what I ended up with.
Now, think of what you could add... doodles, coffee stains, textures, splatters... so much more! I've only barely touched what the Brush Tool is all about or what it can do! I hope that you might have learned something today!
Thanks for visiting!
Jenn (aka jk703/The Typative Scrapper)
Read more...


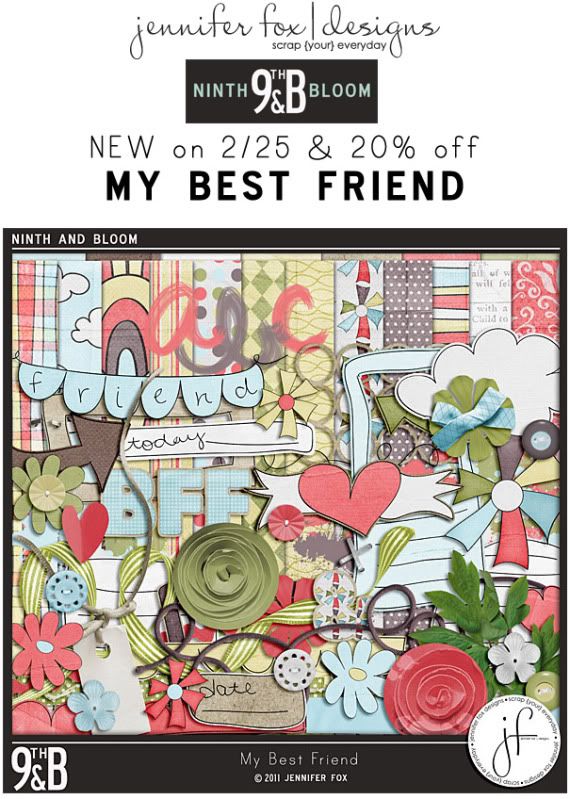
 I also have a few of my favorite older products making their debut at my shop at 9th&Bloom:


