Friday, December 31, 2010

January Desktop Freebie

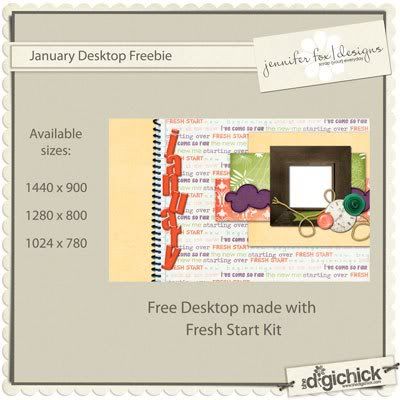
Hello everyone! Tara here with a free desktop for January. It is using Jennifer's new kit Fresh Start created with Amy Stoffel. You don't want to miss out on this beautiful kit at The Digi Chick!

Photobucket

Download Here

Have a wonderful and safe New Year!

Read more...

Thursday, December 30, 2010

New Release! A collab with Amy Stoffel!

It's me again! Today Jennifer has a beautiful new collab with Amy Stoffel. It's perfect-a-mundo for scrapping your New Year's resolutions (or lack of, lol) or any other page about a new beginning. And don't forget...it's 20% off today ONLY at The DigiChick!


Isn't this kit gorgeous? I love the purples, oranges, and greens in it. Here are a few pages/projects our amazing CT came up with


What are you waiting for? Go grab this kit...like now! And have a wonderful weekend, and a happy and SAFE New Year's Eve!

Read more...

Wednesday, December 29, 2010

May I Have Your Attention, Please???

It's been nearly a year since my last open CT Call...

Good luck!!! I can't wait to see your applications!
xoxo
Jennifer

Read more...

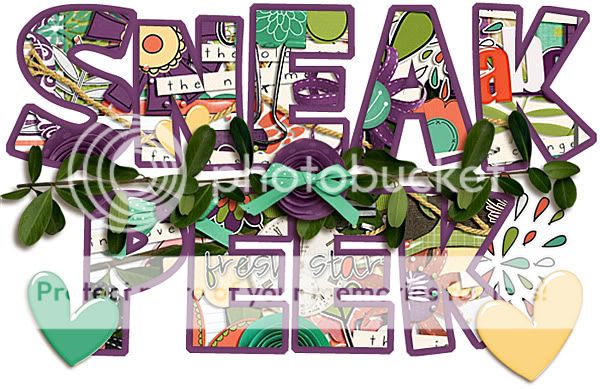
Collab Sneak Peek

Good morning all. Jennifer has a new collab coming out tomorrow and it's a beauty! Don't forget to come back tomorrow to see the full reveal, some CT inspiration, and grab the kit while it's 20% off!

Read more...

Tuesday, December 28, 2010

Tidbit Tuesday

Oooooooh boy, have I got a cool gadget for you!  I't Jenn (jk703) here with your Tidbit for this Tuesday!  Many sales are going on now, and I think you could probably get a great deal for this little piece of joy!


We've all got cameras, and we use them constantly!  I take oodles and oodles of pictures!  All the time, and they total in the thousands!!  I'm sure that a lot of you are just like me!  Then, after I take all those pictures, I have to upload them to my computer so I can edit, share, or scrap them! I used to hate taking all those cords out, finding the right ones and making sure it is all connected correctly!  But then... aaaaaahhhhh... I found these little wonders:

They are called Eye-Fi Cards!  Simply, they are awesomeness that is about the size of a postage stamp!  What do they do?  Well, I take my pictures, come home, turn on my computer and turn on my camera.  The Eye-Fi card will AUTOMATICALLY transfer my images to my computer. INSTANTLY!  No cords, no connections, just instant photo upload!  

For my personal use, I upload to my computer and leave it as it.  Later, when I am sitting down and plan to work with my photos,  (I have a Mac and I run multiple photo libraries) I click on my Photo Manager and choose the correct library that I want my pictures to be saved at, and once it loads, it also loads my new pictures!  WOW, right?!  

You can choose different options for the card, as well as choosing instant uploads to other outside websites, such as Facebook, Shutterfly, Snapfish, Flikr, or one of 20 other sites!!!  Depending on the card you choose, you can do video also!  Here is a chart that shows the differences between the cards!  


If you can, go check them out!  They really are as easy as that, and make my life so much easier that I don't have to do go through the processes of uploading photos - cause all I have to do now is press a button!  

Let me know what you think!
Have a great day!
Jenn
(jk703)


Read more...
Monday, December 27, 2010

Monday's Meals In Minutes 12/27

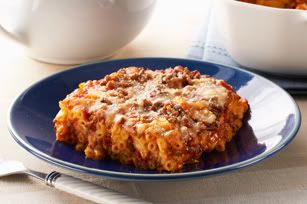
Hello everyone, Kara here with a yummy recipe I hope your family will enjoy as much as my family does.
It's called Mac&Cheese Lasagna. At first I wasn't too sure about this one, because Mac&Cheese in my lasagna, just did not sound good. But if you have a son like mine, all he eats is mac&cheese and chicken. (which he thinks everything is chicken) So I came across this recipe from www.kraftfoods.com 


Here is what you'll need:

1 Pkg (7-1/4 oz) Kraft Mac & Cheese Dinner
1/2 lb lean ground beef 
1 1/2 cups Spaghetti sauce 
1 cups Kraft shredded Low-Moisture Part-skim Mozzarella 
cheese.
2 Tbsp. Kraft grated Parmesan cheese

Make it:
Bake oven to 350 F
Prepare Dinner as directed on package, using the light prep directions. Meanwhile brown meat in skillet, drain.

Spoon half the Dinner into lightly greased 8-inch square baking dish;
top with layers of half each sauce,meat and shredded cheese. Repeat layers, the sprinkle with 
Parmesan cheese.

Bake 20 mins, or until heated throughly. ( I bake a little longer brown the cheese on top a little more)
Hope you enjoy today's Meals in Minutes. As always, have a great day!!

Kara


Read more...

Sunday, December 26, 2010

Spotlight Sunday - Take Me Away

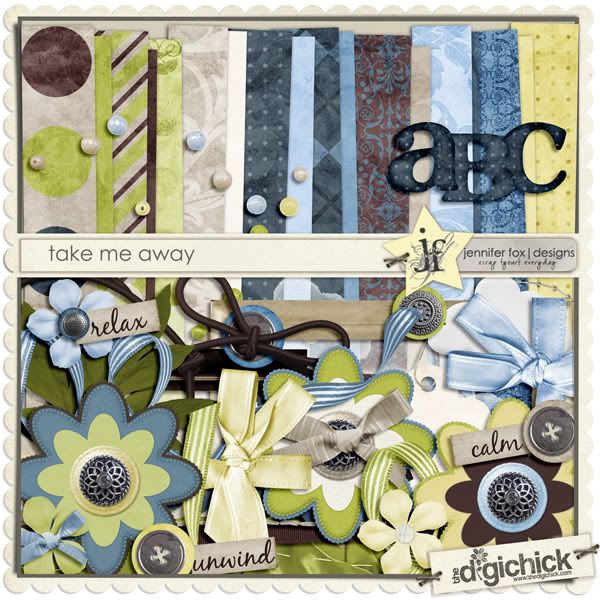
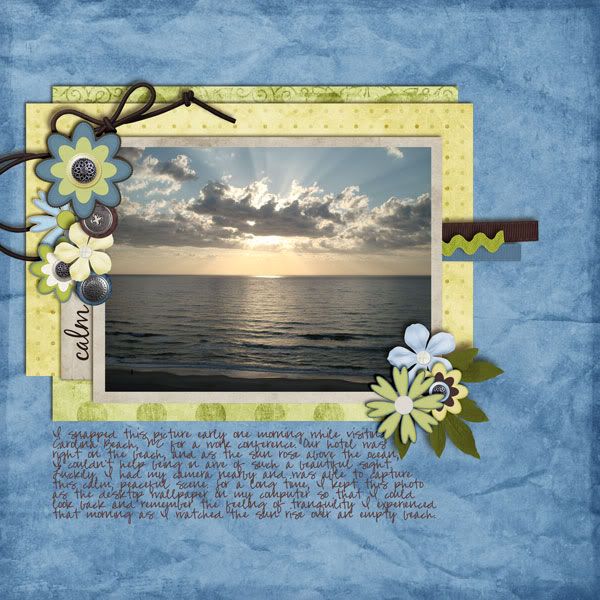
Hi everyone, Terra here taking a break from the holiday festivities to bring you a spotlight on a beautiful kit by Jennifer Fox. While the holidays bring a lot of joy and happiness, they can also bring some stress at the same time. It is easy to get caught up with tension, frustration and anxiety, but if you are able to take a couple minutes for yourself to relax and remember what the holidays are really about, you may be able to get rid of some of that stress. Jennifer's kit, Take Me Away, can help you find some peace, serenity and relaxation.


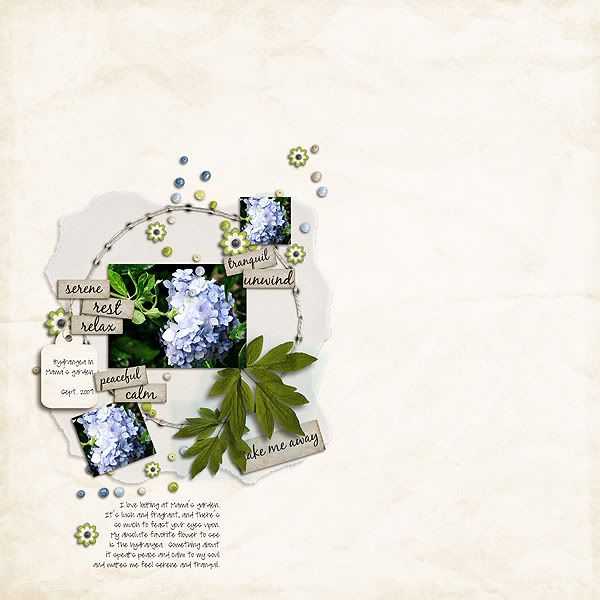
I just love all of the beautiful blue papers and pretty elements in this kit. I found a couple of great layouts in The Digichick Gallery to hopefully inspire you to take some time out for yourself and create a relaxing layout of your own.

by gonewiththewind

by kendallt

If you have been inspired by this post make sure you add a link to your layout in the comments so that we can leave you some love.


Read more...

Saturday, December 25, 2010

Saturday School: Christmas Edition

Hi Everyone! It's Jenn (jk703) here for a Christmas edition of Saturday School! First, everyone one here at Jennifer Fox Designs would like to wish you and you a very Merry Christmas! I hope that you are enjoying the gifts, family, friends, and food that is all about! 

So, with all that food around, I am sure that there are photos of friends, kids, or even you with food on your face! Well, today I am going to touch on the Healing Tool and we can remove those food spots, as well as cuts, acne or even lighten skin! Such a cool tool, and my best friend if I have a blemish on my face! OK! Here is the Tool (such a cute little bandaid, right?!): 
Here is a picture of my son, Shayne, eating a pretzel with mustard when we visited Touch a Truck day earlier this year! Now, I know you are thinking... where is the mustard... it is there, and it bothered me, so this was a great example of removing the "food blemish!" lol! 
This close up shows that it is there, and it is actually in a few places: left corner, left spot on his cheek, right bottom smudge, and there is a small cut on his nose and cheek. He's my cute slob! :)

The healing brush is used remove blemishes. It gathers information from the immediate surrounding area that we are altering and then it will blend it to make the changes smooth and very unnoticeable - if done correctly.

To make things more beneficial, we need to use the right kind of brush. If you have the brush set at a high hardness, the changes that you make will show. I normally use a hardness and spacing of 20%, the size will change as you work so there is not a set size for this. Please know, it will take time to experiment with these settings, these are just what I find most effective. For this example, I adjusted my hardness a bit higher. 
You may notice that my brush size is pretty small. When fixing blemishes, you will want to zoom in pretty close to make the best changes. The small brush size is effective at that level of closeness.

This is the Healing Brush Tool menu bar:


Mode Specifies the blending mode. Choose Replace to preserve noise, film grain, and texture at the edges of the brush stroke when using a soft‑edge brush.
Proximity Match Uses pixels around the edge of the selection to find an area to use as a patch.

Create Texture Uses pixels in the selection to create a texture. If the texture doesn’t work, try dragging through the area a second time.

Content-Aware Compares nearby image content to seamlessly fill the selection, realistically maintaining key details such as shadows and object edges.


This is the Spot Healing Brush Tool menu bar:


Mode Specifies the blending mode. Choose Replace to preserve noise, film grain, and texture at the edges of the brush stroke when using a soft‑edge brush.

Source Specifies the source to use for repairing pixels. Sampled to use pixels from the current image, or Pattern to use pixels from a pattern. If you chose Pattern, select a pattern from the Pattern pop‑up panel.

Aligned Samples pixels continuously, without losing the current sampling point, even if you release the mouse button. Deselect Aligned to continue to use the sampled pixels from the initial sampling point each time you stop and resume painting.

Sample Samples data from the layers you specify. To sample from the active layer and visible layers below it, choose Current And Below. To sample only from the active layer, choose Current Layer. To sample from all visible layers, choose All Layers. To sample from all visible layers except adjustment layers, choose All Layers and click the Ignore Adjustment Layers icon to the right of the Sample pop‑up menu.

Removing Blemishes
So, here are some steps to removing blemishes and other unwanted marks on your photos!

Open up your photo, and create a duplicate of the original so that if you don't like the changes, you still have the original to go back to!
  1. Choose the Healing Tool, and note that the Background layer should be the active layer. 
  2. Zoom in close to the area that you will be working on. 
  3. Move your cursor NEXT to the blemish, to a nearby "Clean" location. 
  4. Press the Alt Key (Option for Mac) and hold it. Click with your left mouse button. You will see something similar to a bullseye when you do this part. You now have a made a sample that you will use to cover the blemish.
  5. Next, you start clicking on the blemish to change/fix it. 
  6. Re-sample often and near to the blemish -- it will appear smooth, and doesn't look blotchy when you continue to re-sample. 
  7. Sometimes, changing the opacity helps in making the changes seem more realistic. 
For this example, I left my tool in the Normal mode. If it was a dark spot, I might choose lighten, or if it were a light spot, I might choose darken. Play around with the options, and find your style!

Here is the Before and After of my Mustard Mouth! 


There you have it... a quick and easy blemish fix! I hope you learned something, and I would  LOVE to see what you were able to remove from your photos!  

Enjoy your holidays, and have a great week! Till next time!

Jenn
(jk703)

Read more...

Friday, December 24, 2010

Gift for you!

Merry Christmas Eve! Its Amber and Im stopping by to give you guys an early Christmas present! Please enjoy 35% off at Jennifer's shop! Thank you all for being such wonderful and loyal customers! I hope you all have a very merry christmas and best wishes for a happy new year!

jfd_BLOG35cmas
35% off (excludes collabs)
exp. 12/28

Read more...

New Releases!!!!

Do you need that extra little touch to add to your pages for them to be "finished"? If yes, you definitely need to check out Jennifer's new date stamps for 2011. I know I'll be using them on a lot of my own pages in the future!


Both images are linked! I hope you'll come back and post here if you've used these fabulous date stamps!!!

Merry Christmas, Happy Holidays and Happy New Year!!!!

Read more...

Tuesday, December 21, 2010

Tidbit Tuesday - Plan your Christmas photos

Hi everyone, Terra here with another Tuesday Tidbit for you. With all of the hustle and bustle during Christmas it is easy to forget to take photos of some of the things you want to remember. So this year, I am hoping that some advance planning will help me out. I have started a list of "must have" photos as this is my first Christmas with my little boy. I know that I am most interested in the spontaneous, unplanned photos, but if I don't make a list of the photos I want, I am sure to forget to capture some special moments. These are some of the pictures I want to have to look back on (and scrap) after the holidays are over. Hopefully this list will inspire you to make a list of your own and help you think of some of the moments you want to capture.

Equipment Preparation
  • Extra batteries
  • Clear memory card
  • Review camera manual
  • Clean camera and lens

Must Have Photos
  • Tree decorated with lights on. Take just before dark without flash.
  • Baby's First Christmas ornament, Charlie Brown ornament and Peter Pan ornament
  • Gifts under the tree
  • Kids opening gifts
  • Kids with their Christmas outfits on
  • Kids playing with wrapping paper, bows, etc.
  • Baking cookies
  • Mom preparing Christmas dinner
  • Christmas Eve games
  • Kids and Grandpa writing letter to Santa
  • Treats for Santa and reindeer
  • Christmas dinner
  • Carving the turkey
  • Christmas lights
  • Kids playing outside at night
  • Bedtime stories
  • Kids asleep on Christmas Eve
  • Kids walking to Christmas tree when they first wake up
  • Opening stockings
  • Opening gifts on Christmas morning
  • Kids with Grandma and Grandpa
  • Kids with Aunt and Uncle
  • Family portrait

Let me know if I've missed anything in the comments!


Read more...

Monday, December 20, 2010

Meal in Minutes Monday: Breakfast for Dinner

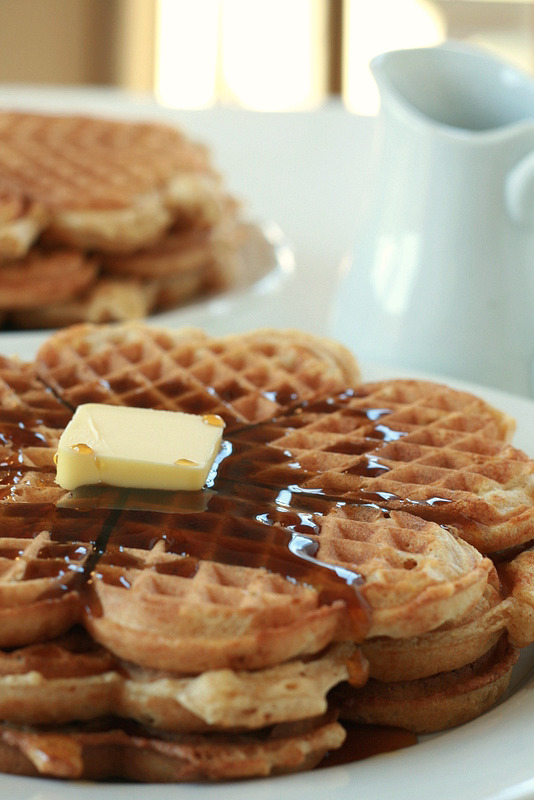
We love waffles in our family! And while most of the time, I serve them for breakfast, every once in awhile we have breakfast for dinner. It's quite a treat!

This is one of my favorite recipes. Serve 'em up with butter & locally grown maple syrup and my oh my- so tasty!

Whole Wheat Waffles

Ingredients:
1 1/4 cup all-purpose flour
3/4 cup whole wheat flour
2 tablespoons sugar
1 tablespoon baking powder
1/2 teaspoon salt
1 3/4 cup milk
6 tablespoons vegetable oil
2 large eggs
1/2 cup finely chopped pecans (optional)

Directions:
1. Mix all ingredients until well blended. Let sit for five minutes.
2. Preheat waffle maker on desired setting.
3. Pour 1/2 cup batter onto the hot center of the grid.
4. Keep waffles warm in a 200 degree oven until ready to serve.

Read more...

Sunday, December 19, 2010

Spotlight Sunday 12/19

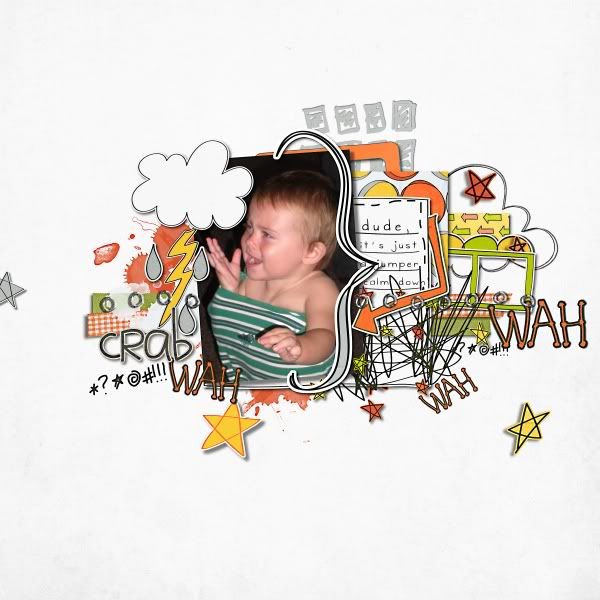
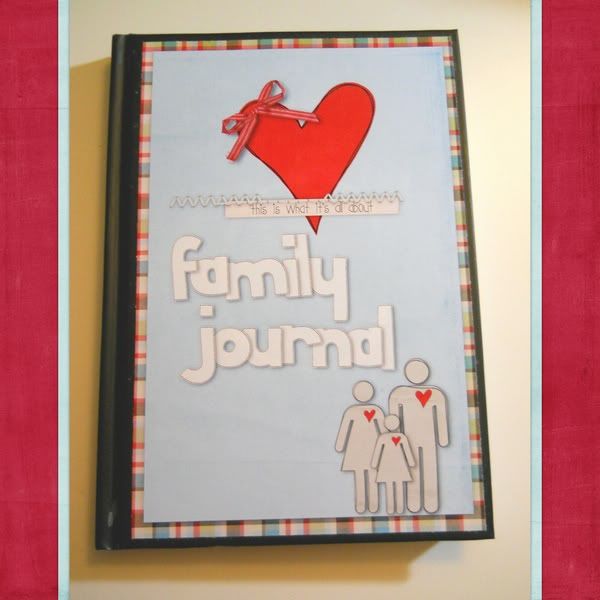
Good Sunday morning to all! Kara here with today's spotlight Sunday. There are so many great layouts showing up in the Digichick gallery because Jennifer has a lot of new and awesome kits out there. It was so hard to choose which ones I wanted to put here. I would love to post them all, but that would take forever :) Here are the top for that I just loved!

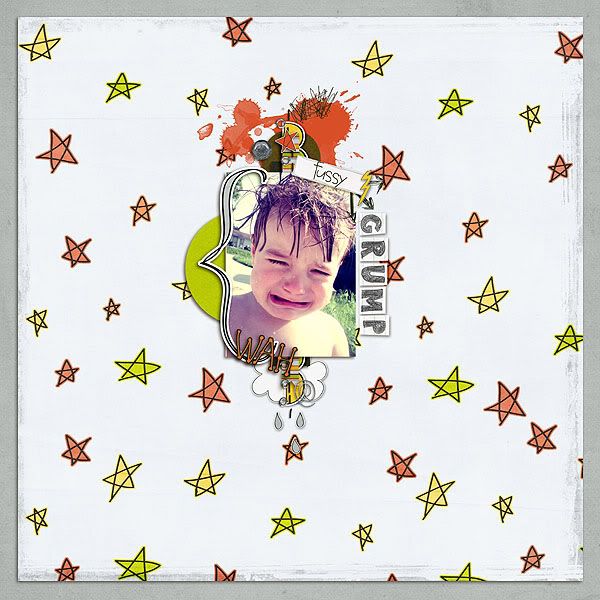
Boo Hoo by Leenorific using Crabby kid


Family Journal (A hybird project) by sarahbhb using You means so much

Grump by Sawnbear using Crabby Kid

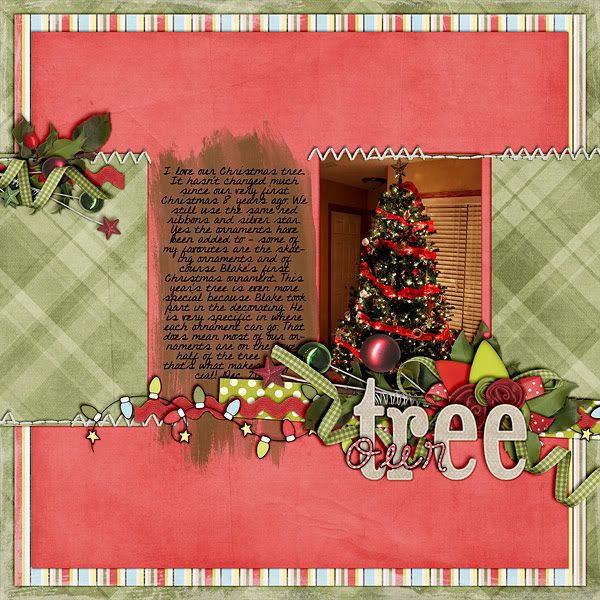
Our Tree by eranslow using Deck The Halls


Aren't these layouts just awesome? Be sure to stop by The Digichick and view Jennifer's Shop and Gallery to get these awesome kits and be sure to post them! As always, if you have any of these kits, and want to show us your layout, comment and post it below, we always love to see your work! Have a great day!

Kara

Read more...

Saturday, December 18, 2010

Saturday School - Visit Your Local Library

Hi everyone, Terra here with another Saturday School post for you. I am very fortunate to live in a city with an amazing library. It is one of the things that I love most about where I live. Just the other day I thought I would take a look at what they had available for books about scrapbooking and to my amazement the search returned more than 250 items. That didn't even include all of the books about computer programs like Photoshop or books on Photography. So if you have some time away from your computer, but still want to learn some new scrapbooking skills, consider borrowing some books from the library over the holidays. I've found some excellent books and love the fact that I don't have to spend a fortune on books to learn new skills. I plan on doing some reading while on the road and these are just some of the books that I reserved.


So during this holiday season, even if you aren't traveling, take a break from your computer and visit your local library for new inspiration. Even if you don't have an amazing library where you live, chances are that there is some sort of Interlibrary Loan system available that will allow you to "order" books. Happy reading!

Read more...

Friday, December 17, 2010

Happy Holidays from the CT!!!

Happy Holidays!! Nikki here to bring you a super fab christmas goodie!!! We are all so excited for the holiday season and we wanted to give you, our loyal blog readers, a super fun giftie to celebrate. I have to say that the girls really did an AMAZING job on these templates and I hope you enjoy them as much as I am. Check out this huge pack of templates we came up with!


4shared
Download 1
Download 2

Box.net
Download 1
Download 2

We hope you enjoy using these wonderful templates. If you use them for a layout, we'd love to see, so be sure to link us up here.
Have a wonderful and blessed holiday season

Read more...

Thursday, December 16, 2010

You Mean So Much, a Crabby Kid, and a Template! (oh and some winners too!)

Good morning all! We have LOTS to talk about today, so let's get started! Jennifer has THREE new releases at The DigiChick today, and they are all 20% off today ONLY!
First up Jen has an amazing collab with Laura Banasiak, perfect for all those not so perfect days, when the kiddos just are not happy and it shows!
And check out what some of Jen's CT did with it!
Next up is the re-release of You Mean So Much. You might recognize this kit from the October edition of The Enabler from DSA. If not, now's your chance to grab it!
Our CT played with this one a bit, they really rocked it!
And finally, Jen created this 2-pager template that is perfect for year summary layouts. They go together, but each will also stand alone.
Check out this layout from Kristin. She REALLY rocked this template!
Head on over to The DigiChick right now while all of these amazing products are 20% off!

And now....how about some winners? I loved reading all of your comments yesterday, and I've got three winners


So Leonor wins a copy of Crabby Kid.
Jen wins a copy of You Mean So Much
And wahoolady wins a copy of Jen's 2-pager template

Winners...please PM Jennifer at The DigiChick for your prizes!

Read more...

Wednesday, December 15, 2010

A Sneak Peek!

Hi everyone! Jen has some gorgeous stuff coming to The DigiChick tomorrow, and I have a peek for you of her fantastic new collab. Make SURE you come back tomorrow to see all the goodies that will be 20% off tomorrow ONLY!

Would you like to win one of Jen's new releases before you can buy them? Leave a comment here telling us your favorite Christmas tradition. We'll pick a lucky winner (or 2...or 3!) before midnight EST, so hurry!

If you'd like an extra chance (or chances!) to win, do one or more of the following. Leave each entry in a separate comment for more chances!

1. Follow this blog.

2. Become a fan of Jennifer Fox Designs on Facebook.

3. Subscribe to my newsletter.

4. Follow jfoxdesigns on Twitter.

5. Post about this giveaway on your Facebook page.

6. Tweet about this giveaway on Twitter.

Phew! You can get up to 7 entries to win!!! How fun! Have a wonderful Wednesday!!!

Read more...

Hybrid Hump Day - A Birthday Card Sneak Peek!

I was inspired by this week's Mojo Monday Sketch (#169) to create a birthday card using some papers from one of Jennifer's new releases that is coming to The Digi Chick tomorrow.


Here's the sketch:


And here's my card!


The stamps are from the Labels2Use set by The {Stamps} of Life, and the flower is from Prima Marketing. I also used a Martha Stewart border punch on one edge to add some interest to the card.

Be sure to stop by tomorrow to see all of the great new products Jennifer's releasing this week!

Read more...

Tuesday, December 14, 2010

Tidbit Tuesday

Hey all, Kara here. I know I am so late, it has been one of them days where I should have just stayed in bed :(
My mind is all scattered, but I am here to give you this tidbit. I came across this site while just messing around on line a few weeks ago. I think it has some very helpful tips on word art, who doesn't love word art?
A Way With Words if you makes some word art using these tips be sure to post what you have made right here on our blog. We love to see your word. Hope everyone is staying warm and sane through the craziness the holidays bring =)

Kara

Read more...

Monday, December 13, 2010

Monday's Meal in Minutes - Cheese Chicken 'n' Shells

Have you ever come across a recipe that you thought you'd make just to try it but ended up loving it sooooo much you tell everyone about it?  That's exactly what happened with this Cheesy Chicken 'N' Shells recipe that I got off the Cooking for Two section of Taste of Home's website.  I was in a rush one night and it looked easy enough, so I printed it and made it - instant hit.   My husband is constantly asking for it since we had it, and I can't wait to have it again!  It's a recipe designed for 2-4, but you could easily double/triple the quantities if you need to serve more.  It looked like a lot, but it was so nummy we gobbled it right up lol.


Cheesy Chicken 'N' Shells
Recipe & Photo by Taste of Home

Ingredients

  • 1-1/2 cups uncooked medium shell pasta
  • 2 tablespoons all-purpose flour
  • 1/4 cup water
  • 1-1/4 cups chicken broth
  • 1 can (10-3/4 ounces) condensed cream of chicken soup, undiluted
  • 1/2 cup VELVEETA Pasteurized Prepared Cheese Product diced
  • 1/4 teaspoon salt
  • 1/4 teaspoon pepper
  • 1/4 teaspoon poultry seasoning
  • 1/8 teaspoon paprika
  • 1-1/2 cups cubed cooked chicken
  • 3 tablespoons dry bread crumbs
  • 1 tablespoon butter, melted

Directions

  • Cook pasta according to package directions. Meanwhile, in a saucepan, combine the flour and water until smooth. Gradually stir in broth.
  • Bring to a boil; cook and stir for 2 minutes or until thickened. Reduce heat; add the soup, cheese and seasonings. Cook and stir for 5 minutes or until cheese is melted.
  • Drain pasta; place in a bowl. Stir in soup mixture and chicken. Transfer to a greased 1-1/2 qt. baking dish. Toss bread crumbs and butter; sprinkle over the top. Bake, uncovered, at 350° for 30 minutes or until golden brown. Yield: 2-4 servings.

Nutrition Facts: 1 serving (1 cup) equals 429 calories, 16 g fat (7 g saturated fat), 70 mg cholesterol, 1,304 mg sodium, 44 g carbohydrate, 2 g fiber, 27 g protein. 


Trina's notes 
* I used Panko breadcrumbs, they were SO nummy, but I would double the amount next time for that crunchy goodness.
*  To cook the chicken breast easily, I followed the directions here, and then cubed it - worked like a charm, they were juicy (mine usually are dry from being overcooked) and cubed up really easy!

Read more...

Sunday, December 12, 2010

Gallery Spotlights!

Hi Everyone!  It's me again, Jenn (jk703)!  I've decided to come back and treat you guys to some beautiful layout eye candy!  There are a lot of talented scrappers, and I wanted to show you a few of my recent favorite layouts using Jennifer's awesome supplies!  Here are some of my picks:


First up, LeeAndra created a fantastic, bright, birthday layout!  That background just pops out of the gallery because of the yellow!  Her stamped bubble wrap and clusters look awesome!  Jennifer's My Birthday Boy Kit was used to create this layout! The image is linked... so hop on over and leave some love!

Two by LeeAndra at The Digichick


This next page has got some journaling that we can all relate to!  It is just fantastic, especially
her picture and the design of the layout!  Beautiful! Created by Jacinda, she used Jennifer's recent kit called Memory Keepers!

Create, Capture, Scrap by Jacinda at The Digichick


The last item that I would like to showcase is by Joana1n, a most adorable, and simply sweet card!  What a great hybrid project!  I love the colors, her flowers, and the elegance it exudes!  Stunning! This mini masterpiece uses Jennifer and Meghan Mullens' Kit called Oh So Studious!
Thinking of You (card4web) by joana1n at The Digichick

There are some recent highlights to Jennifer's Gallery at The Digichick!  Hop on over, check out some layouts and have some fun!  Have a great weekend!

Thanks!
Jenn
(jk703)

Read more...
Related Posts with Thumbnails

Disclaimer

As a creative team member for several digital scrapbook designers, I have received their products for free in return for creating and posting projects (digital layouts, hybrids projects, etc). Many of the layouts you see here were done in conjunction with requirements for these creative teams. Please be advised that the products used were indeed received for free.
The Daily Scrapper - Topsites Best Scrapbooking Sites, Digital Scrapbooking, Scrapbook Supplies, Reviews, Awards
List of the Best Digital Scrapbooking Websites by Scrapbook MAX!SCRAPBOOKING TOP 500 The Daily Scrapper - Topsites Free Digital Scrapbooking

  © Blogger templates Newspaper III by Ourblogtemplates.com 2008

Back to TOP