Hybrid Hump Day - One Card Three Ways
Hi there! Thanks for stopping by the blog today! I love how easy it is to create a great-looking and one of a kind card using digital scrapbook supplies. I also love how I can take the basics from a kit and create a very fancy card if I have the time.
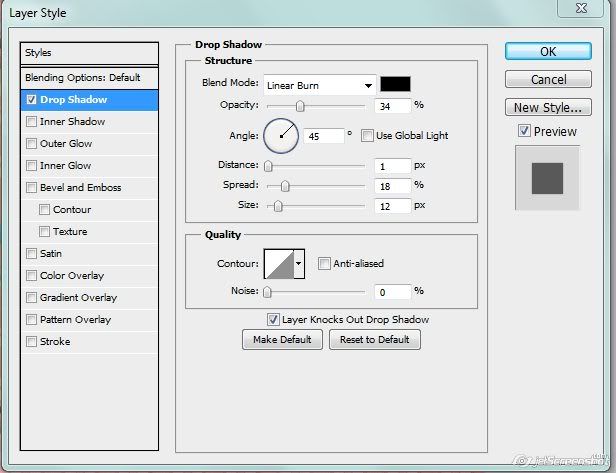
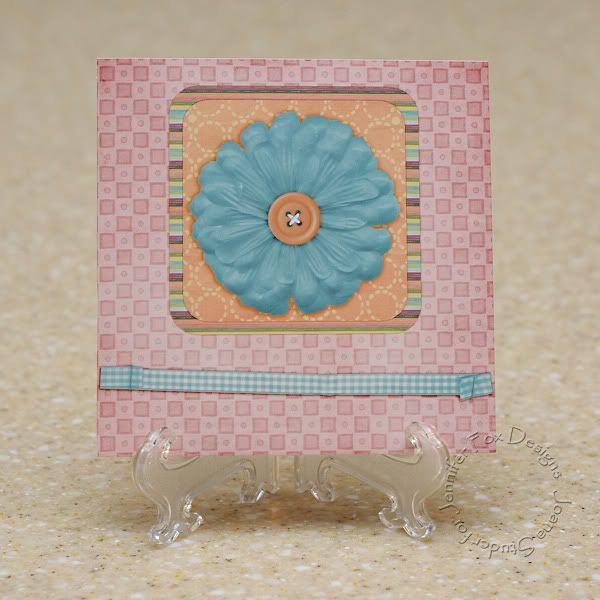
Today I thought I would share some ideas with you for taking your hybrid cards to the next level. I started creating a simple, all-digi card by selecting a paper from Jennifer’s NEW RELEASE, Splendiferious, (coming to The Digi Chick tomorrow, 9/16!!) for my card base, and then I clipped a couple of papers to some rounded square masks. Then I added a flower element from the kit, a button element to the center of the flower, and a ribbon at the bottom of the card. The key to making a successful all-digi card is with the shadowing. I like to keep the distance at 0 or 1 so my papers will have a shadow around all edges. Then I play with the other two settings until I achieve what looks right to me.
Here's the first card - 
You just print your card, fold it or adhere it to a blank card base, and go!
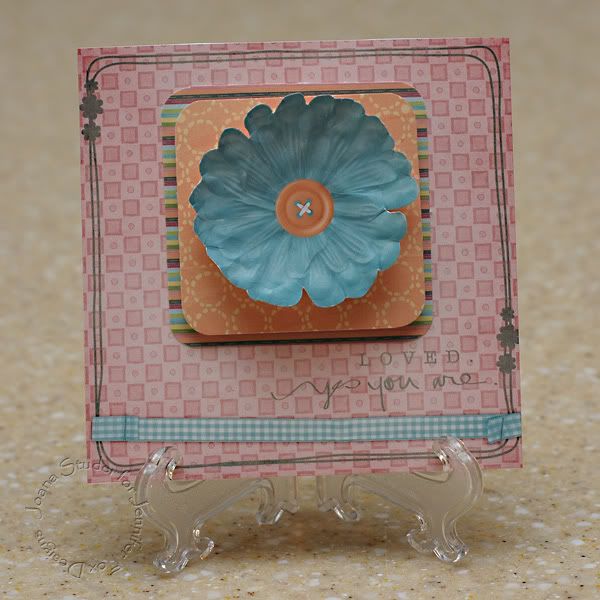
But say your toddler is taking a longer-than-expected nap and you decide you want to take your card to the next level. You can add a couple more elements to the card, like a doodled border and word art. Next, instead of leaving it all on one layer and printing it, you can drag each element to an 8.5x11” document and then cut each piece out to give it a more hand-crafted look.
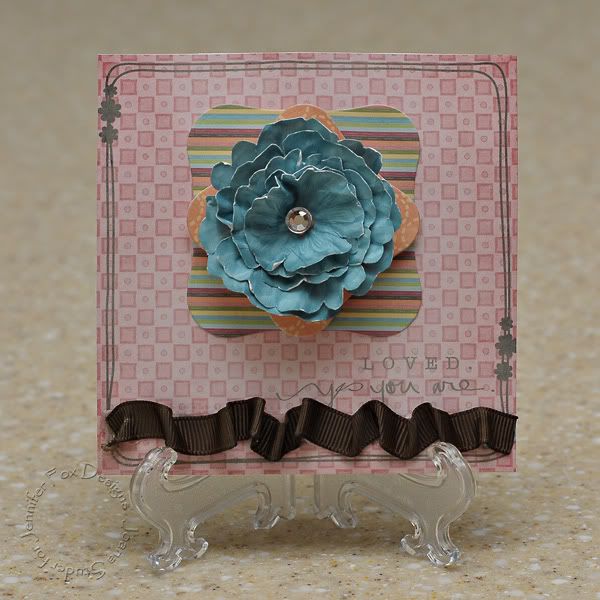
Now say your toddler goes to bed early, so you find yourself with even more time on your hands (I know, I know, but entertain me in my fantasy world for a minute). Now you can not only drag each element to another page to print and cut out separately, but you can also use your fancy dies to cut your squares into elaborate shapes, and you have time to dig through your extensive collection of flowers, brads, ribbons, and other goodies, and you can embellish the card to your heart’s delight!
No one card is inherently better than the next – they just vary in their stages of embellishment and time required to make the card.
You can see on this last card I have used my Nestabilities Labels One dies to cut the paper mats in the center. I have also cut out varying sizes of the blue flower, layered it together with a brad in the middle, crumpled the living daylights out of it, and then reshaped it into what you see here. I added a little rhinestone bling to the flower center, and adhered it to the card using some 3-D foam adhesive. Then I added some red line tape to the bottom of the card, and attached the brown grosgrain ribbon in varying pleats.
So next time you're setting out to make a hybrid card, give one of these advanced techniques a shot and see how easy it really is to take your card to the next level.


2 comments:
really cool, i love the simple to advance stages hehehe fab tut!
Great post, and so cute - I love your writing xxx
Post a Comment