Tuesday, November 30, 2010
Monday, November 29, 2010
Muddy Buddies...YUMMY!!!
 Today I'm popping in with a quick recipe for Muddy Buddies (or puppy chow) just because I know you'll love it. It has nothing to do with the fact that I'm REALLY craving it...really.
Muddy Buddies
9 cups Corn Chex®, Rice Chex®, Wheat Chex® or Chocolate Chex® cereal (or combination)
1 cup semisweet chocolate chips
1/2 cup peanut butter
1/4 cup butter or margarine
1 teaspoon vanilla
1 1/2 cups powdered sugar
Into large bowl, measure cereal; set aside. In 1-quart microwavable bowl, microwave chocolate chips, peanut butter and butter uncovered on High 1 minute; stir. Microwave about 30 seconds longer or until mixture can be stirred smooth. Stir in vanilla. Pour mixture over cereal, stirring until evenly coated. Pour into 2-gallon resealable food-storage plastic bag.
Add powdered sugar. Seal bag; shake until well coated. Spread on waxed paper to cool. Store in airtight container in refrigerator.
Variation
Peanut butter purists will enjoy this favorite snack when peanut butter chips are used instead of the chocolate chips.
This super easy, super quick recipe is taken directly from the Chex website. They have tons of great recipes, so head over and take a look around! Enjoy!
Sunday, November 28, 2010
Another Spotlight Sunday
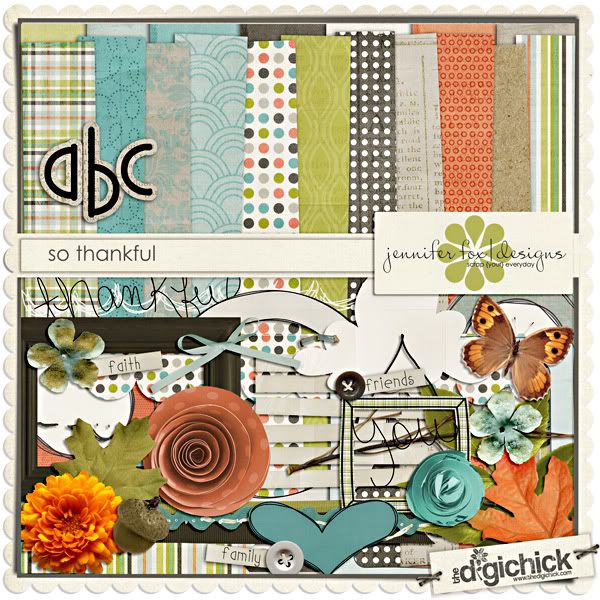
Good morning all, Kara here I hope you have survived your Thanksgiving holiday with your friends and family! I a going to keep this short and sweet today, as today is not a goo day for me, I'm feeling pretty down and out. anywho, have you seen the beautiful kit out by Jennifer? So Thankful This is such a gorgeous kit, and I know all of you have something to be oh so very thankful for!
Saturday, November 27, 2010
Tips for Journaling!
Hi Everyone! It's Jenn (jk703) again, lol! I am here today to bring you some tips about Journaling. Journaling is a very important aspect to our digital creations. It tell the story, the background, and personal feelings in your pages!
Do you journal a little, a lot, or none at all? I tend to let each layout determine what type of journaling I am going to include. At the very minimum, I include the date and try to make a note of the people in the photos. Do you get stuck, and wonder what to add? Journaling prompts are a great way to add to your layouts and get you started telling more on your pages.
So... to get you to journal on your pages, I thought I'd share some questions that you could answer and create pages for. These questions can be asked of people, or you could start an All About Me project and answer them yourself! Here ya go:
Hybrid on a Saturday
"hello..hello...test mic??"
Hi!!!!!!!! Donna here!!! And yes I am bringing you a hybrid post on a Saturday because well....I forgot last Wednesday...sheeesshhh RL work is getting in the way, lol! :D
Anyways, I made a simple card today which you can use as a gift card or money holder. Really simple.
First off, as I was searching for a kit to use, I saw this Jennifer Fox winter/Christmas kit which I think fits perfectly for my project idea and for the upcoming Christmas season....
I used a 4x6 base card for my card and also cut additional waved strip for the pocket/holder inside the card... just make sure you leave a bit of extra paper on each sides except the top part (as seen in the image).
Adhere the front panel on a piece of cardstock and use double-sided or glue on the waved paper strip's flaps (as seen in the image).
Adhere the waved paper strip inside the card as seen below (leave the top open)... and an element at the upper right corner for additional cuteness :)
Super easy, right? :)
Friday, November 26, 2010
Freebie Friday
Hi everyone Nikki here to bring you another Freebie Friday!! Sorry it is late but I have been busy spending time with family and SHOPPING!! Yes I am one of those crazies that goes out and shops at 1am!!!
This week I have a desktop freebie for you and I decided to use Jennifer's Warm Winter Wishes kit!!
I hope you like it!!
And don't forget!!
Tuesday, November 23, 2010
Rule of Thirds...
Huh? You say.... lol... Well, I am talking about photos and how you take them! It is Jenn (jk703) here again with a tip for photography! Now, I am trying to learn as I go, so I need to practice my own tips as well! But, through my research, here is what I've found to be useful!
First, let me explain quickly what the Rule of Thirds is. It is the basic dividing of a photo into thirds...by rows or columns. Though, in my opinion, it is more of ninths, because there are nine quadrants!! LOL! A lot of times when cropping, you will see the grid, like in my picture below:
Those grid lines can change your picture so much! Right now, I've used the crop tool to crop the photo and place the sun in the center of the picture! Kinds of looks funny! The Rule of Thirds is a basic assumption that you should place the primary parts or focus on the grid intersections. I've cropped my photo, and added some red dots to show you how I aligned my photo!
Share some of your photos... post a link! Have fun with your photos and be sure to come back for a visit soon!
Happy Holidays!
Jenn
(jk703) Read more...
Monday, November 22, 2010
Meal in Minutes Monday - A Holiday Treat!
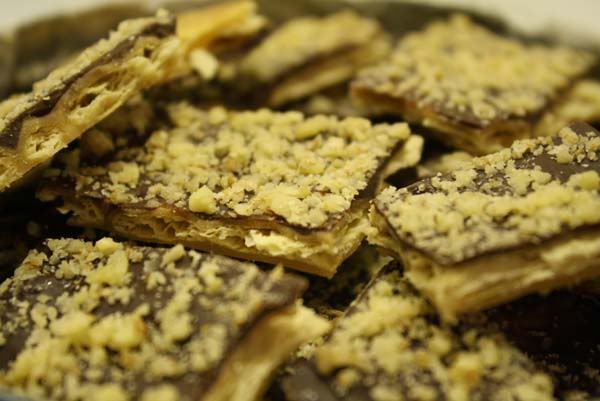
Hello everyone! Tara here with a yummy recipe! I am always looking for a great recipe for a sweet treat to take to holiday get togethers. So this really isn't a MEAL in minutes but a TREAT in minutes. I got this recipe from my best friend. She got me addicted to these a few years ago and my waistline hasn't been the same since. SO GOOD! Seriously, people will be raving about it and it is the EASIEST thing ever to make. Are you ready????
Chocolate Toffee Bites:
Saltine Crackers (enough to line a 15x10 pan)
1 cup (2sticks) of butter (none of that margarine junk)
1/2 cup sugar
1 cup chocolate chips
1/2-1 cup finely chopped walnuts (optional)
- Preheat oven to 350 degrees.
- Line a 15x10 pan with foil (a must!) then 1 layer of saltine crackers edge to edge
- Melt butter and sugar in a saucepan and boil for 2 minutes until golden/caramel color (do not let mixture become brown...stir constantly).
- Pour mixture immediately on top of crackers and spread carefully without shifting layer of crackers.
- Bake at 350 for 10 minutes.
- Sprinkle chocolate chips on top and spread carefully as they melt.
- Sprinkle chopped walnuts evenly. (optional)
- Place in refrigerator until cooled.
- Break into pieces.
- Try not to eat entire batch ;)
Sunday, November 21, 2010
Sunday Spotlight - Oldie but Goodie
Welcome to this week's Sunday Spotlight! It is freezing cold where I am this week, and it made me think of one of Jennifer's winter kits, one of my favorite of hers! Warm Winter Wishes is a collab between Jennifer and Nikki Epperson, with gorgeous colors and that oh-so-cute snowman!
I found some great layouts in the Digichick gallery using this kit, so I thought I'd share some with you here!
By SunshineTK
Also by SunshineTK
By RealRach
And last but not least, tettletop20
So what are you waiting for? Grab this kit today ans start scrapping your winter memories! Read more...
Saturday, November 20, 2010
Tool Time: Crop and Slice
Hi Everyone! I hope you are having a great weekend! It's Jenn, jk703, here to share a bit more information about the tools we use in Photoshop! We are going to look at the Crop Tool and it's alter function: Slicing! So... Lets get started!
Croptastic Cropping!
So what does this do? Well, many times when you start a project, you will use the Crop Tool; this allows you to crop unwanted parts of a photo, paper or other item. The Slice tool is able to let you slice your project into parts, and upload each slice as a different image!
The Crop Tool is pretty straight forward. First, you click on your image in one of the corners, and hold down the left button on your mouse.
Drag the mouse in the direction you want to expand to, the general picture you want it to end up when cropped.
Un-click, and you will have a darkened selection, and then a brighter section. The darkened section is the part of your image that will be cropped off. The portion of the image inside the box is what you image will look like.
Move and fix the cropped image as you need, and click on the checkmark to commit to the new cropped selection. You can also press Enter to commit to the crop too!
Here is my son, hugging a pumpkin... and I am just cropping all the extra space! You can see the bounding box, and the squares inside that bounding box. Those squares or grid represent the Phots Grid, which allows you to play on the Rule of Thirds! (Check back here Tuesday for some information on that!!!).
Once I clicked on the checkmark, I have cropped my photo to the smaller, brighter selection.
Some tips about The Crop Tool:
- Press the letter "C" on your keyboard to jump to the Crop Tool at any time.
- Hold down the Shift Key to constrain the proportions and making it a perfect square.
- If you decide you don't want to crop an image after selecting an area with the crop tool, simply press Escape or the
 button (Since I don't know it's name, you get a picture of the button, lol!)
What the heck is a slice tool for?! Well.... to make it simple... you can have one project open, and slice it into sections, and save each section.
Bear with me... think pizza. Slice it and each is it's own piece, and put them all back together, and you have a circle. Now think projects or web usage... linking to different parts of the web. My example for the slice tool is a siggy! Forum siggies have gotten really popular lately, and I threw this one together to show off this tool! (Just a tip, create your siggie in the size allowed for your scrapping home, this way you won't have to re-size different pieces after creation!)
Here is a basic siggy, now I will show you how to add slices so I can direct people to my blog, or my gallery:
Now, if you click and choose the Slice Tool, you will make a square around your image. Similar to The Crop Tool, but there are no grids, and the box itself, is made up of dots. Once you have your square, the software will set up what slices there are. This can be changed.
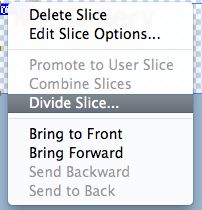

OK! Once you have all your slices and you are done cutting it all up into pieces,adding your information, you will Save for Web. So, click Save for Web, and make sure you use the following options:
Make sure your options are the same as mine. They are: JPEG; Maximum; Optimized Checked; Quality 100; Blur:0; Matte:Blank.
For this way of linking, you can save images only, BUT if you are linking and doing the whole code and table thing, remember to Save with HTML and Images.
If you don't follow the above choices, I don't know if the rest will work, sorry! This is what your slices will look like when you save them... I have a bunch of extra ones, but I just delete the ones that I don't have any image or url in.
Now, I upload to Photobucket, and then add the images to my forum signature area, and then link the 2 images. One links to my blog, and one links to my gallery. Quick and easy sliced signatures linked to the web! I hope this was something new, and if you do it another way, please share!!!!
Have a great rest of your weekend!
Jenn (jk703) Read more...
Friday, November 19, 2010
Freebie Friday
Hi!! Nikki here again to bring you another freebie! This week I have a cluster frame that I made using Jennifer's fabulous new kit "So Thankful"!
We would love to see what you create with this so please come back and link us up! Have a great weekend!! Read more...
Thursday, November 18, 2010
A New Kit and a WINNER!!!

And check out some CT Inspiration.

Wednesday, November 17, 2010
My Thankful Book
Sarah here with a hybrid project to share with everyone. Jennifer has a gorgeous new kit coming out tomorrow in her store, called So Thankful. When I saw the wordstrips that are included with the kit I knew I wanted to create a thankful book to show some of the things and people that I appreciate most in life.
The project was made using 4" chipboard coasters. I created an 8.5"x11" canvas and then clipped my paper to squares slightly larger than the coasters, added a photo and wordstrip. I was able to get 2 pages per sheet of presentation paper (I use HP matte presentation paper for almost all of my hybrid projects). Using my crop-a-dial I punched holes and then tied the pages together with twill and I think I ended up with an adorable little album.
Here's the finished project.


To get this gorgeous kit make sure to check out Jennifer's store at the Digichick tomorrow (Thursday Nov. 18). I hope this inspires you to make a thankful album. Mini albums are one of my favorite (and easy) hybrid projects to make.
Sneak Peek and Win It Wednesday!!!
Good Morning everyone! Jennifer has a brand new kit coming this week, you don't want to miss this one!
Wouldn't you love to win this kit before it even hits the store? Just leave a comment here about what you're feeling thankful for today. We'll pick a lucky winner (or 2...or 3!) before midnight EST, so hurry!
If you'd like an extra chance (or chances!) to win, do one or more of the following. Leave each entry in a separate comment for more chances!
1. Follow this blog.
2. Become a fan of Jennifer Fox Designs on Facebook.
3. Subscribe to my newsletter.
4. Follow jfoxdesigns on Twitter.
5. Post about this giveaway on your Facebook page.
6. Tweet about this giveaway on Twitter.
Phew! You can get up to 7 entries to win!!! How fun! Have a wonderful Wednesday!!!
Read more...Tuesday, November 16, 2010
Tidbit Tuesday
Hey all! Kat here with a lil tidbit Tuesday for ya.... I don't know about you but there are two things in the world that I enjoy a lot... food and scrapbooking. So I guess you can assume how excited I was when I found out that BOBBY FLAY and PIONEER WOMAN are having a Throwdown!!!! eeeeekkkk!!!! Come Wednesday night, I will be watching two of my favorites whip up an entire Thanksgiving meal. I can't wait to see who wins! If you want more details, check out the site here: Throwdown with Bobby Flay
On that note, I will leave you for the time being. I hope you all have a great week and a wonderful Thanksgiving!
Monday, November 15, 2010
Meal in Minutes Monday: Quick & Creamy Mac 'N Cheese

I just got a new cookbook today. Pampered Chef's 29 Minutes to Dinner Volume 2. It looks awesome! I haven't had a chance to make anything yet, but the first thing I'm going to make from it, I predict will be a family fave. My son's favorite food, along with PB&J, is macaroni & cheese.
This is a healthy version of mac & cheese and I'm hoping to trick my family! Oh, and it only takes 19 minutes to make!
Ingredients:
16 oz. uncooked medium shell pasta
1 package (12 oz) frozen butternut squash, thawed
1 can (12 oz) evaporated milk
2 cups shredded six-cheese Italian cheese blend
1/8 teaspoon ground nutmeg
1/2 teaspoon salt
Additional ground nutmeg
1. Cook pasta.
For pasta, bring salted water to a boil in covered pan. Cook pasta according to package directions. Carefully remove 1/4 cup of the cooking water for later use. Drain pasta; return to pan and set aside.
2. Prepare sauce.
For sauce, place squash into saucepan, gradually add milk, whisking constantly. Cook over medium-high heat 3-4 minutes or until mixture begins to simmer. Reduce heat to medium. Add cheese; cook 3-4 minutes or until cheese is melted and mixture returns to a simmer, whisking constantly. Add nutmeg, salt and reserved cooking water; stir until smooth. Add sauce to pasta; mix to coat.
3. Finish and serve.
To serve, divide pasta among serving bowls; sprinkle with additional ground nutmeg, if desired.
6 servings
Sunday, November 14, 2010
Spotlight Sunday 11/14
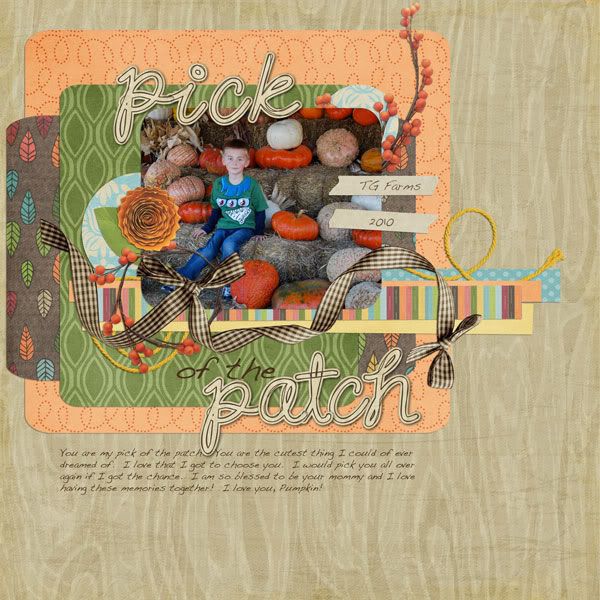
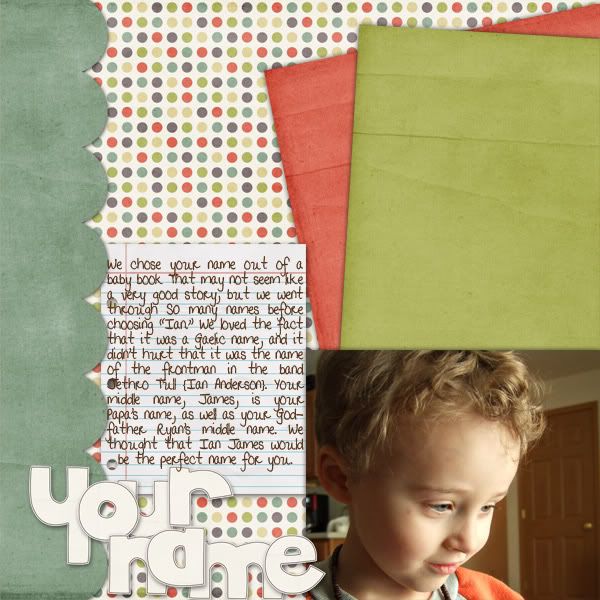
Happy Sunday all, Kara once again with today's Spotlight Sunday. Last night I was browsing through Jennifer's gallery at The Digichick. I just have to say there are so many awesome layouts popping up there! Today I thought I would show you some of the LO's that popped out at me. Here ya go!


