


Saturday School - making your first digital layout!
Hi, it's Kate here with a tutorial on making your first digital scrapbooking layout in Adobe Photoshop. If you're already a digital scrapbooker or use another program, please stay! There will be stuff here for you, too!
So what do you need to get started? Generally a digital scrapbooking layout has several "ingredients" - a picture or pictures, a digital scrapbooking kit, and the story behind your pictures. You'll also need a computer program to put it all together. This tutorial is written for Adobe Photoshop (I use CS4), but the process is the same regardless of the program you use. If you don't have a program yet, you can go to the Adobe website and download the free trial version of Photoshop or Photoshop Elements.
Once you have your program installed and have picked a picture or two, you'll want a digital scrapbooking kit. There are many options available depending upon your scrapping style. There are a ton of freebie kits out there that you can download to "try it out" as well as a variety of stores with different styles of kits. I have two pieces of advice to offer here... The first is don't get carried away collecting the freebies like I did. Download a few to figure out your style, then invest in a few good quality kits. One of the wonderful things about scrapping digitally is that you can use the same piece of paper or element as many times as you want. Your kits never get used up! My second piece of advice is to find a site that you enjoy hanging out at that sells good quality kits. Digital scrapbooking can be so much more than just recording your memories; there's a whole community of scrappers out there that share pieces of their lives with each other. Being part of a good digital scrapbooking community can be very rewarding. Check out the DigiChick forums to see what I mean. There's a lot of "scrap chat", but also a lot of chatting about life in general.
One good way to find your style is to browse through the galleries looking at other people's layouts. That's also a good way to find inspiration when you're ready to make a layout. I browsed through Jennifer's designer gallery and found this layout by Jackie (tettletop20) that I loved using Jennifer's kit "Won't You Tell Me Your Name".
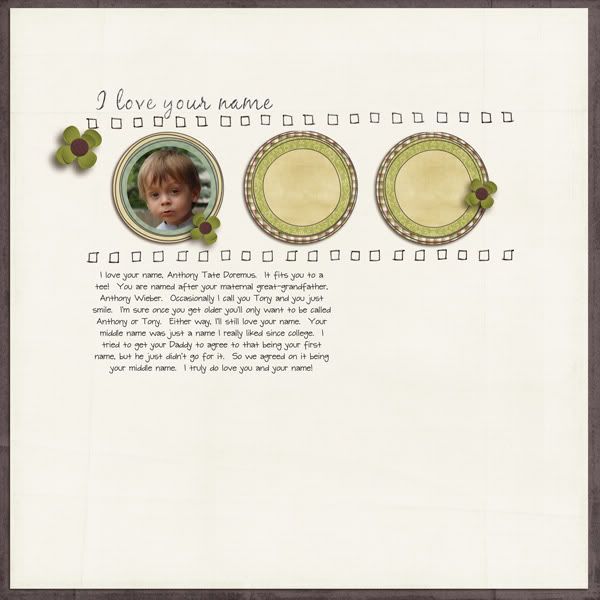
I am going to use this layout as inspiration for my layout. In scrapping terms, I am going to "scraplift" this layout; which means I'm going to make a similar layout. It is considered good "scrapbooking etiquitte" to credit the layout that is scraplifted in the online gallery.
I've decided to use the kit "Tell Me Your Name" for my layout. After I purchase the kit in the store, I have to download it to my computer. Most kits are packaged into several ZIP files, so once I've downloaded the kit, I have to "unzip" the downloads so that I can use the files. In Windows XP I can 'right click' on the zip file and choose the unzip option. Then I'll have several folders with papers and elements. There are many ways to organize digital scrapbooking supplies. I keep it simple - I have a folder for each designer into which I put a folder for each of that designer's kits. I put all of the papers and elements into the kit folder, some choose to keep them separated into sub-folders for papers and elements. If there's an alpha, I keep it together in it's own sub-folder.
Now I have Photoshop open and the kit unzipped in it's folder and my pictures picked out. It's time to get scrapping!
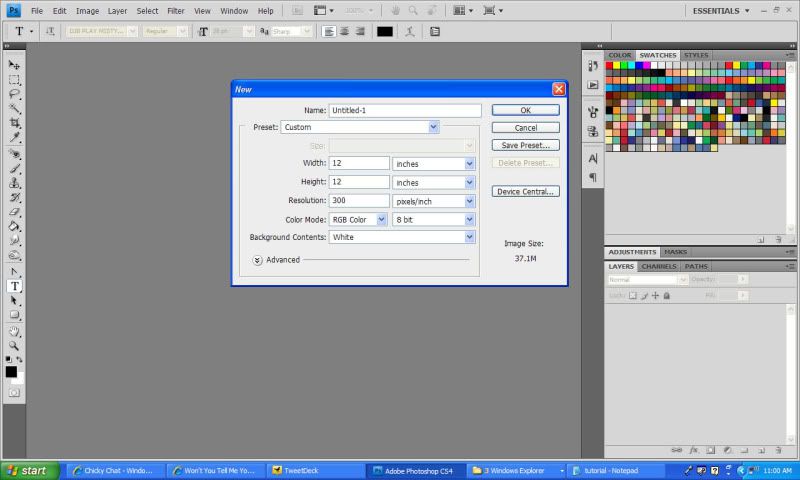
The first step is to open a new document in Photoshop. Since the papers are sized at 12x12 inches at 300dpi, those are the options I'll choose when I open the new document. Keeping it this size will make it easier to scrap the layout and will give you the option to print it out at any size square up to 12x12 inches. This is what the dialog box looks like
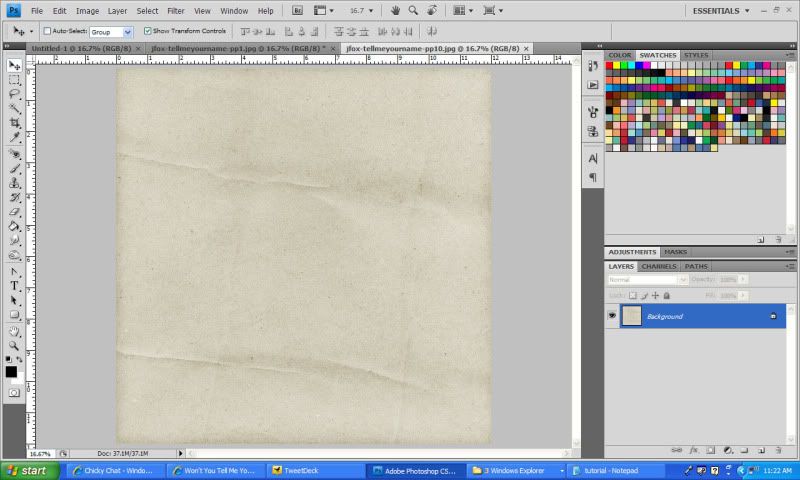
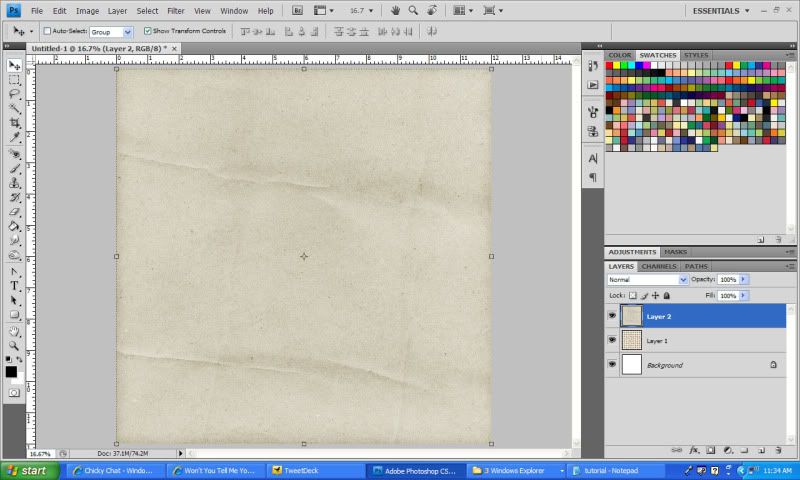
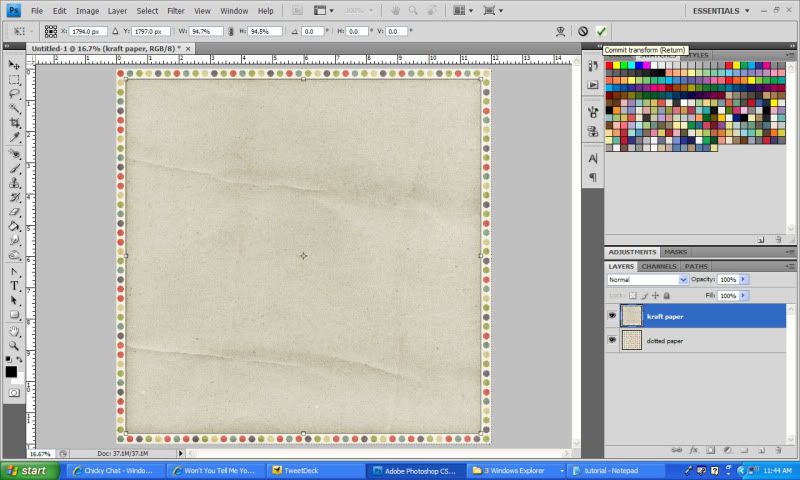
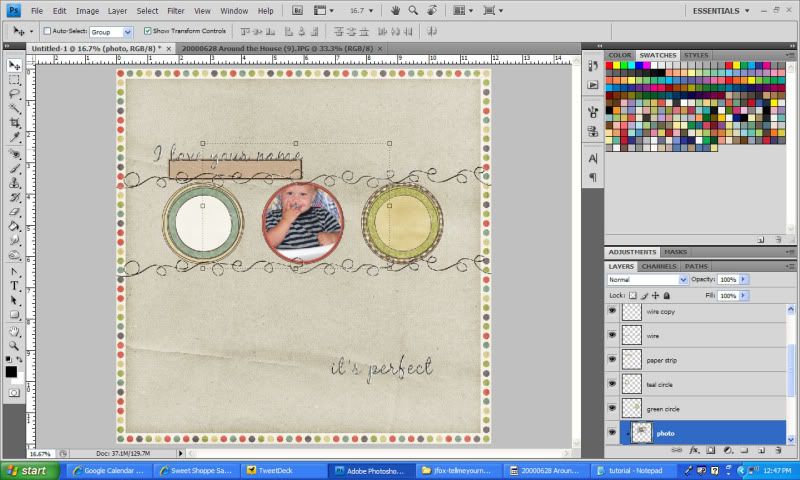
Making sure the "move tool" is active (the arrow icon on the upper left), I'll 'left click' on the paper and drag it to my layout window and release the mouse button, which will copy the paper onto my layout. If you hold down the 'shift' key when you do this, the paper will be centered on your layout when you release the mouse button. This is what it looks like with the two papers on the layout (and the individual papers closed). You can only see the top paper now because the second paper is layered underneath it. You can see the layers with a thumbnail in the 'layers pallette' in the lower right. I am going to rename the layers by double-clicking on the names in the layers palette. As you can imagine, if you have more than 4-5 layers in a file it could get very confusing to have all the layers named "layer 1", "layer 2" and so on. I'm also going to delete the bottom layer by clicking on it and dragging it onto the trash can icon at the bottom right of the layers palette.
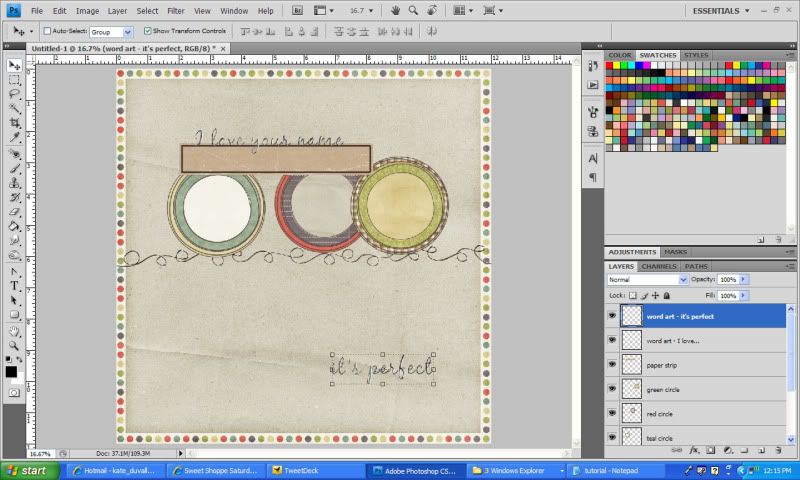
Now comes the fun part... putting the embellishments on the paper! I'm going to drag a few embellishments from the kit folder onto the layout the same way I did for the papers. I'm just getting them on the paper now, I'll move them around later. You can see that the layer "word art - it's perfect' is highlighted in the layers palette and it's outlined on the layout. That's the active layer.
I want to make some changes now. First I want to duplicate the wire since I want two on the page. I'll click on that layer in the layers palette and drag it to the 'new layer' icon (next to the trash can icon). Now there are two wires, one right on top of the other. Next, I want to resize the circles. It's okay to make something smaller on a layout, but you generally don't want to make it bigger or it might not look good when it's printed. Since I want all three circles to stay the same size, I'm going to resize them together. To select multiple layers, click on one layer on the layers palette, then hold down the 'ctrl' key and click on the other layers you want to select. All of the selected layers will be highlighted in the layers palette. Then simply click on one of the little boxes in the corner and resize all the selected elements together. To keep the elements in the same shape, hold the 'shift' key down while you're resizing.
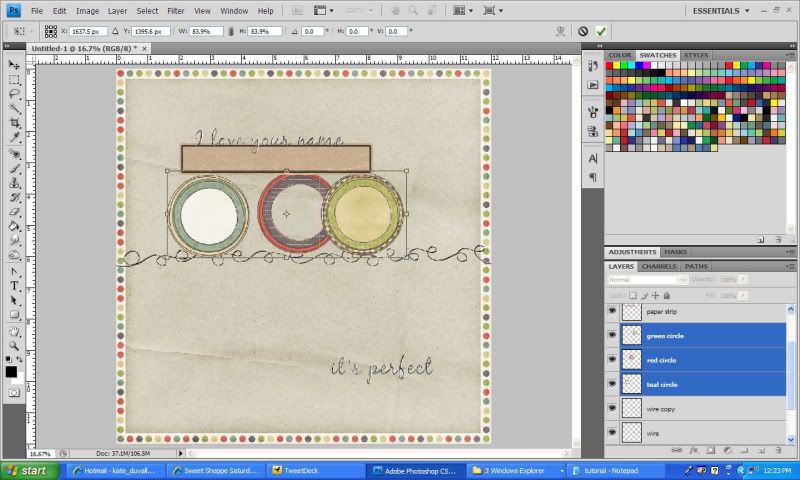
Now I'm going to do a bit more resizing and moving things around on the layout until I get the look I want. To move an element on the layout, highlight it in the layers palette and then click and drag it on the screen. Make sure when you do that the cursor looks the same as it does for the move tool (cursor with the 4-way arrow) or you'll resize or rotate the element instead of moving it. To change the order of the layers, just click on the layer you want to move in the layers palette and drag it up or down. I want my picture cut out in a circle shape framed by the middle circle. What I'm going to do is duplicate the middle circle and resize it to the size I want the picture, then center it on the middle circle. Now I'll open up my picture and move it so that it's the layer above the top circle and I'm going to clip it to the circle. To clip the picture to the shape under it, right click on the photo layer in the layers palette and select 'create clipping mask'.
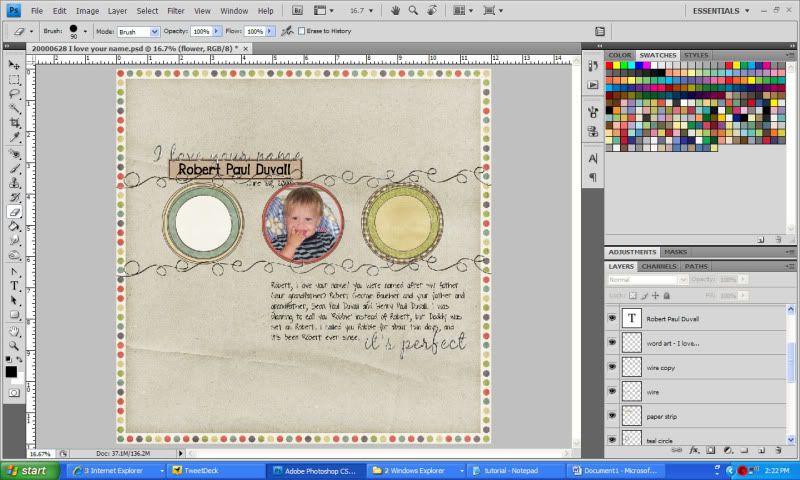
Now I can move the picture around and resize it to get it the way I want it in the frame. I'm almost done with the layout. Next, I need to add my text. To add the text, select the text tool (the 'T' in the menu on the left), click the 'new layer' icon in the layers palette, click on the layout, and type. You can change fonts, font size, and color and a few other things at the top of the screen. I want to put a text block on my page, so I'll make a new layer and with the 'text' tool selected, I'll click on the layout and drag the cursor to make a text box. Release the mouse button when the box is the size you want it, then click inside the box and start typing. Your text will fill the box. If the text isn't exactly where you want it, you can select the 'move' tool when you're done typing and move the text the same way you'd move any other element.
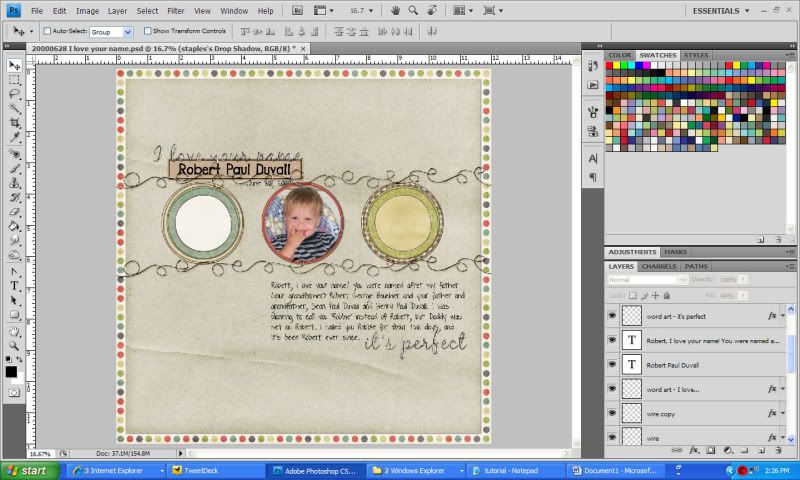
Looks much better, doesn't it? At this point, you could add additional elements if you wanted or move things around a bit more. I'm going to tweak it a bit, then call this layout done. Save the layout with a descriptive name. Actually, this really should have been the first thing I did and I should have saved periodically along the way. I've lost a few layouts because Photoshop has crashed. You'd think I'd have learned my lesson by now.

One final note: this are some of the very basic things that Photoshop can do and I only showed you one way to do them. There are usually several ways to get the same effect. There are also all sorts of tools that can make things quicker and easier. Spend the time to learn the software. You'll be glad that you did!
I'd love to hear what you think about this tutorial. Was it useful? Is there anything you'd like to know that I didn't cover? Leave a comment and let me know what you think!


0 comments:
Post a Comment