Showing posts with label Hybrid. Show all posts

Sunday, May 8, 2011

Scissors Sunday - Hybrid Project

Happy Mother's Day to all of the Mom's out there.  I hope you are enjoying some time with those you love. 

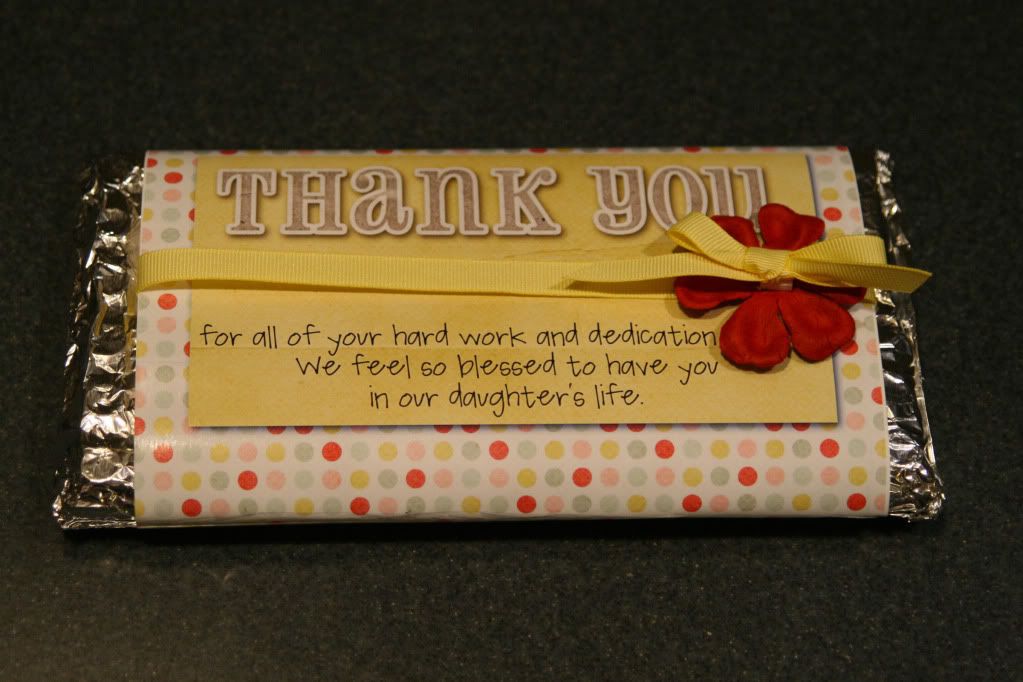
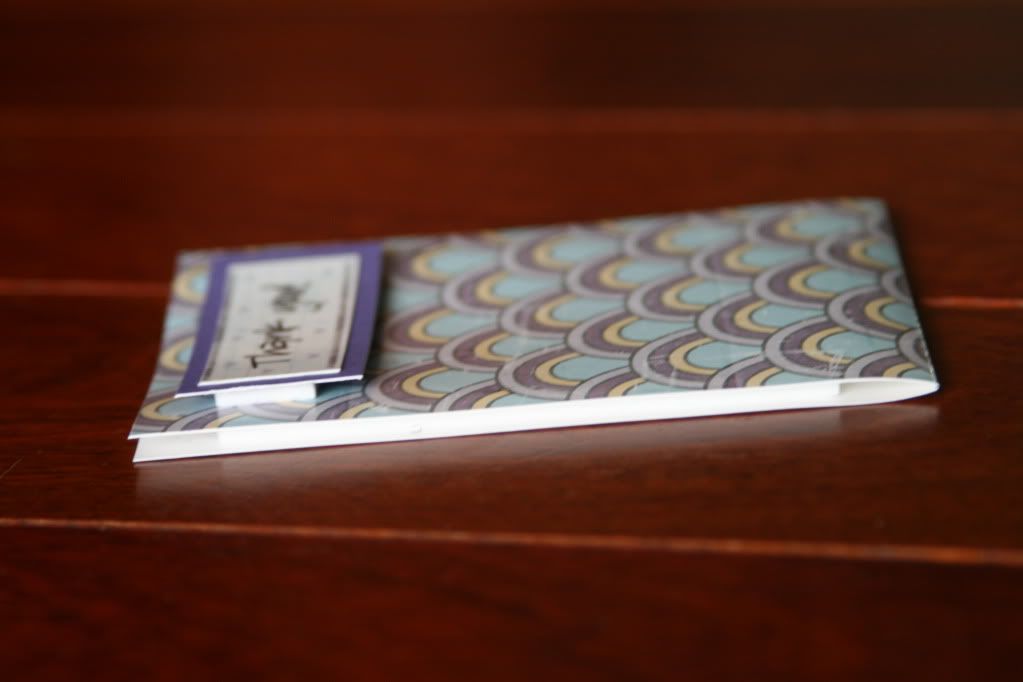
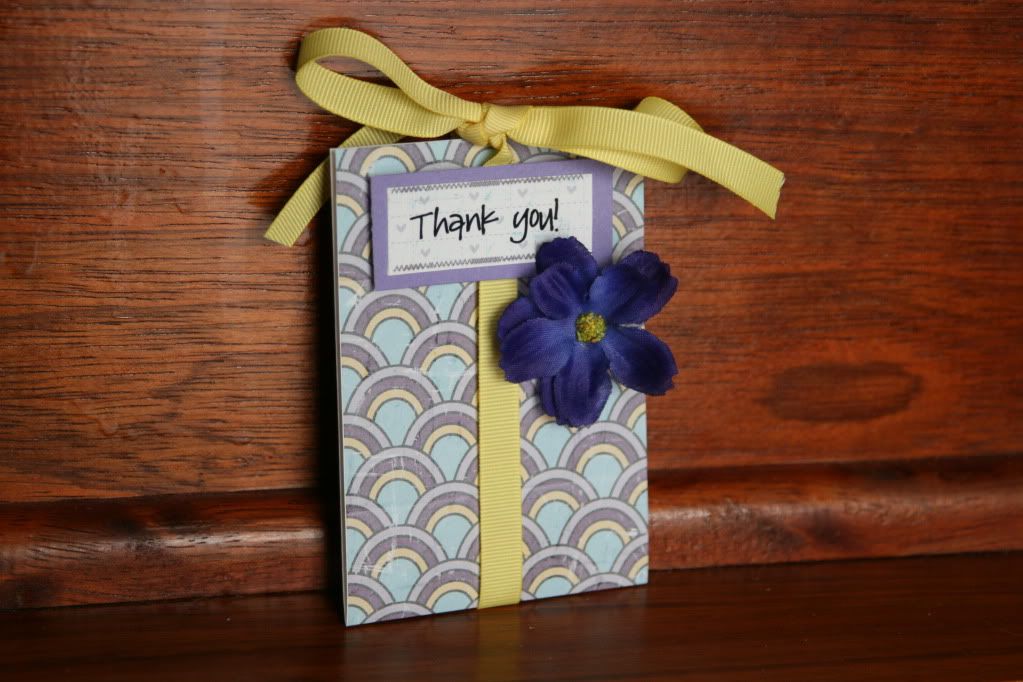
For today's Scissors Sunday post I thought I would share a little project I put together this week for my son's teachers in honor of Teacher Appreciation Week.  Who doesn't love chocolate, right?  As a small token of our gratitude I created a candy bar wrapper using Jennifer's kit:  Bloom

along with her contribution to the blog train: iNSD Freebie Alpha


Here's is what I came up with after using some ribbon and flowers I had on hand.....


Enjoy your day!!!

Read more...

Sunday, April 24, 2011

Cuppycakes Candy Bar Wrapper

Hello everyone! Happy Easter! Sarah here with a fun little printable for you using Jennifer's Cuppycakes kit. This is a super easy project to do. First download the PDF here . Then all you need is a candy bar, a paper trimmer or a pair of scissors and some adhesive (I used double sided tape tabs).


I used matte presentation paper to print the candy bar wrapper out on. Just cut it out, wrap around candy bar and glue. So simple, but what a cute (and oh so tasty) present.


For those who want to create their own candy bar wrapper the dimensions I used were 5.25" wide by 6" long. It's so easy to create a small personal gift for any occasion, with just a few simple steps.

Hope you all enjoy this little printable. Have a great day!

Read more...

Sunday, April 10, 2011

Scissors Sunday - Delight in Life

Hi all, Sarah here with another quick and easy hybrid project for you. For this post I took Jennifer's new and decidedly emo kit One of Those Days and created an uplifting card. I love the bright pinks and greens in the design and wanted to make something fun and simple to share with you.

I totally love the paint splatters included in the kit and decided these would be my jumping off point. I added one of the paint splatters to my page and also decided to add a strip of the green background paper to mat the paint splatters. I then printed this page onto presentation paper.


Next comes the card. I began by using my ruler tool to divide the page into quadrants (center lines are 4.25" horizontally and 5.5" vertically). I decided on my sentiment and created it using two fonts (Holiday Springs BTN which came with my scrapping software and The Typewriter by Heather Hess). I then eyeballed my placement in each of the top quadrants so that I will be able to create two A2 sized cards (one sheet of 8.5" x 11" cardstock, cut in half and folded creates an A2 card). I printed this on plain white cardstock.


For this project I used these tools. My paper trimmer, a bone folder and double sided adhesive tabs. If you have small square punches you could definitely use these to punch the squares out and make it easier. The bone folder is optional but I find that it helps give my cards a nice crisp folded edge.


To create my decorative accents I began by cutting my green paper into 3/4" squares. Then I cut the paint splatters into 1/2" squares. You can definitely play with the sizes to create a bigger or smaller mat or bigger or smaller accents depending on your tastes. Here's a close up of the finished squares.


And here's the finished cards. These probably took me about 10 minutes to create start to finish so it's a really great way to make a personal card in a short amount of time.

I hope you enjoyed this tutorial. If you have any questions please post in the comments section. Thanks so much for stopping by!

Read more...
Sunday, March 20, 2011

Scissors Sunday: Faux Stitching

Happy Scissors Sunday everyone!  Jackie here with a little tidbit about how to get that stitched look to your hybrid projects without ever having to lift a needle or thread.  I use it on occasion and I like the way it looks.

I created this card using Jennifer's "My Birthday Boy" kit which is available at 9th and Bloom.  For the lighter tan colored strip, I used Jennifer's "My Best Friend" kit.  After I printed off the papers and cut them out, I added some white stitching with a white craft marker.  You can use any color marker you'd like, of course!  I did it completely free hand, but you could use a ruler to keep your lines straight if you want.


A closer view (as you can see they aren't perfect, but I feel it gives a little bit more personality to the card!):
Full credits:
My Birthday Boy, My Best Friend - Jennifer Fox Designs
Stickles, Ribbon from Michaels, Button from Paper Trey Ink, Adhesive
SSSC109

Thanks for stopping by today! 

Read more...
Sunday, March 13, 2011

Scissors Sunday: Card Inspiration

Hi all, Sarah here. I know I talked about PageMaps CardMaps sketches a couple of months ago but I wanted to mention it again because there is a new set of sketches available for March (not to mention the announcement of a release of a CardMaps book..sooo exciting). I totally love using these sketches for my hybrid inspiration and this month's sketches were no different. Here's a card I made using Jennifer's This Woman's Work and one of the March CardMaps sketches.


This card is a little more complicated and took a little more time than I would normally spend on a card but I think it was totally worth it. I love the way the heart border looks and the stacked flowers are so fun. the only thing I would change about this card is that I wish I had a little bling to put in the middle of the flower but that can easily be added before I'm ready to give the card away.

I find sketches to be a wonderful way to get a little hybrid inspiration going. I'm so glad there are so many great resources available and I'm happy I was able to share one of my favorites with you today.

Read more...
Sunday, February 27, 2011

Scissors Sunday

It's Scissors Sunday once again and I'm going to share with you a quick and easy way to make a hybrid card.

You don't always have to cut out each individual layer of paper. Over time I've found that when I cut out each individual layer and added it to the card base, I couldn't even tell that the paper was separate layers instead of one layer with drop shadows. In order to save time and ink, often I will just add a drop shadow with a distance of 0 or 1, and a spread % of 7-10 and a size % of 7-10. I move the sliders up and down to achieve the look I want, which is a very subtle shadow that goes around all edges, as that's how a paper shadow looks on a real printed card.

I added a few layers of paper to the canvas and applied the same drop shadow style. I moved the whole card over along with four of the adorable flowers. My plan was to use only one flower, but sometimes inspiration strikes when I'm cutting and gluing, and I like to have extra pieces to work with if necessary.


I ended up sticking with my original plan of only using one flower. I cut it out and attached it to the card using a 3-D foam adhesive. Then I stamped the "Happy Birthday" sentiment using my Words2Color stamps by The {Stamps} of Life. Then I added some flat-backed adhesive pearls to some pink buttons and attached those on the side of the sentiment.


Using this method allows me to conserve paper and ink while providing a nice layered paper look on my card! Give it a try and then come back and share your gallery link!

Read more...
Sunday, February 20, 2011

Scissors Sunday - Tiled Card

Hi all, Sarah here and I want to share one of my absolute favorite techniques to use on a card. I used it fairly often as a rubber stamper and think it works well in the world of hybrid as well.

The card I'm sharing today is really a fairly simple card. I started by opening an 8.5"x11" canvas. First I decided on a background paper. I make my cards A2 size so the purple background here is sized 5.25"x4". I then decided I wanted to use this cute topsy turvy cake as my main image for the card so I layered it on a paper (2.5"x5" in this case but a lot will be dependent on the image you choose) that would contrast with my background paper and the image of the cake (I also wanted to note that I used no shadows on the cake, I wanted to make it look like it was a part of the paper). The last thing I included on my canvas was a word stip that says happy birthday.


Once I printed my project I cut out all the elements, the background paper and the paper with the cake image with my paper trimmer. I just used my fine tipped scissors to cut out the happy birthday sentiment, but you could definitely use a craft knife as well if you are more comfortable with those.

Next I began cutting .5" strips widthwise and then slicing those sections into 1" strips, making sure to lay them out in the correct order as I cut them (note that since my paper was 2.5" there are some .5" squares...I just switched up the sides that the smaller cut was on so that I could do a offset brick look to my image)


I started building in the center, since I had 9 rows I grabbed the first tile in the fifth row, found the center of my background paper and glued it down. I built off of this original tile for the rest of the image.


Here's the card on an A2 card (I love this size since you can make 2 out of a standard sheet of 8.5"x11" cardstock) made with kraft cardstock. I love the tiled look ( i even through in a few extra .5" pieces since my vision of the card changed as I was working on it..I love how it turned out so it's all good) and I think the wordstrip sentiment was just the right touch to finish off the card.

Another way to do a tiled card would be to do squares or rectangles that align, I especially love doing the squares vs the offset tiles for florals and food items because it reminds me of a backsplash in a kitchen that way. This technique also works really well for stamped images and there are lots of great digital stamps out there as well as brush sets you can use to stamp digitally.

Thanks so much for stopping by. If you decide to create a tiled card we'd love to see it. Have a great rest of your Sunday!

Read more...

Sunday, February 13, 2011

Scissors Sunday: Heart Tin Pin Cushions

Hi everyone!  Jackie (tettletop20) here with today's edition of Scissors Sunday.  I've had this set of 3 heart tins for almost a year now and I just didn't know what to do with them.


That is, until I saw this blog post from Barbara Schram.  She shows you how to make them with traditional scrapbooking paper, however, today I am going to show you how to take one of Jennifer's kits (one of my favorite kits) - Sweetiekins - and use the papers from it to transform the tins.

First off, I opened up my photo-editing software (PSE 7) along with the papers I wanted to use and cropped them to the measurements I needed.


Then I printed them off onto cardstock and cut them out.  I adhered them to the tins with some red line tape.  Then I took some ribbon, flowers, and buttons that I had in my craft stash and adhered them with Zots.  I inserted the pretty pins I bought at the craft store and voila - aren't they pretty?  I am really in love with them!


I hope you have a wonderful day!

Read more...

Sunday, February 6, 2011

Scissors Sunday - Hybrid Gift Card Holder

Hey everyone!!  This is my first post to Jennifer’s blog as I am a new member of her CT.  My name is Michelle (aka mdel) and I am so excited to share a hybrid project with you. 

Before the holidays I was busy getting teacher’s gifts ready.  I decided on giving gift cards because who doesn’t love a gift card, right?!  I wanted to find a cute way to present them to the teachers so I came up with this gift card holder.  This is an easy project so let’s get started…

I decided to use Jennifer’s new collab kit with Nikki Epperson: In The Air for my example. 

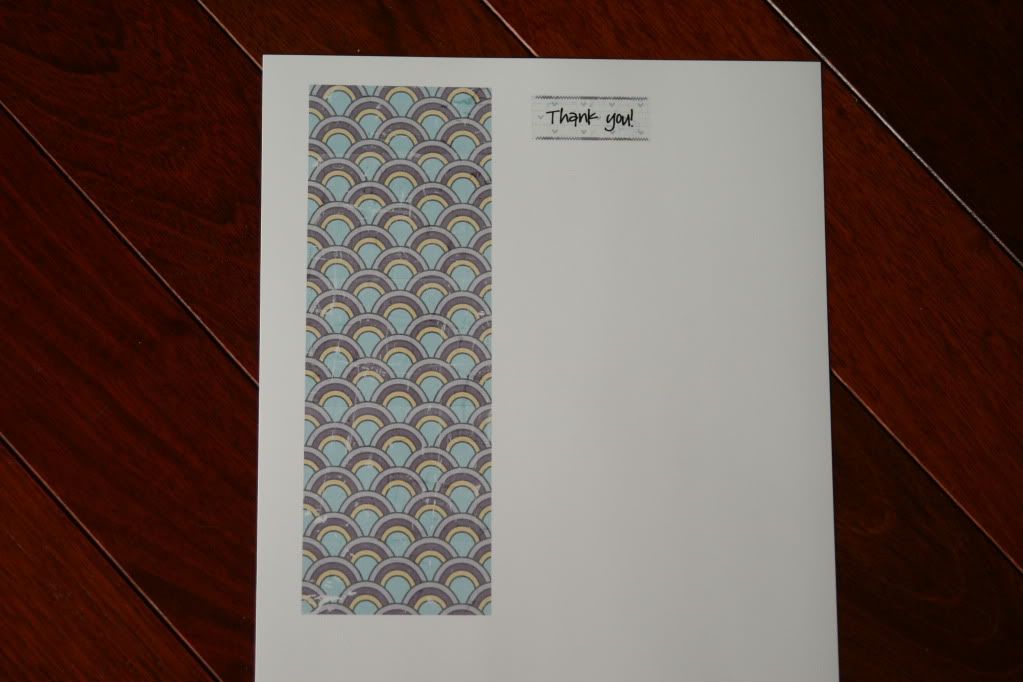
I started by cropping the paper to 3.75”w and 8”h.  Then I made a tag and cropped it to be just a bit smaller than the width of the paper.  I used a font called Pea Amy G which is available at http://www.kevinandamanda.com/   Here is how it came out of the printer…


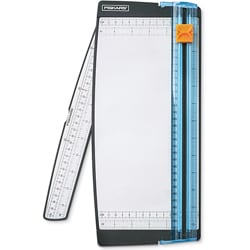
I then cut out the paper and the tag with my favorite tool..


Do you have one of these?  Oh my goodness… it is the best invention, ever.  I use it constantly and not just for crafting projects.  It also scores paper which is what I did for this project to fold the paper in half.  Ok, enough about the trimmer.. LOL

Once I had everything cut out I used 3D foam to seal the pocket together.  I used the foam to give the gift card holder a little bit of room inside.   Then I moved on to the tag.  I mounted the tag on a piece of card stock and used the 3D foam again to lift it off of the paper pocket a bit.  By using the foam on the tag this gives you enough room to slide a ribbon through and it also helps to secure the ribbon so it is not sliding all over the place. 


I then cut a 24” piece of ribbon and laced it under the tag and around the paper pocket.  I used another piece of 3d foam to secure the ribbon to the back.  Pop your gift card inside and then tie off the ribbon to secure the card inside.  Add a flower and tada…you have a cute little gift card holder.


Read more...

Sunday, January 23, 2011

Scissors Sunday - You Are a Star

Hi all, Sarah here today and I wanted to share with you the steps I take when making a hybrid card. Cards are both easy and useful so I make a lot of them and I'm hoping that if you've been putting off doing hybrid this blog post helps convince you that making cards is both easy and fun.

First I want to mention that I almost always start with a card sketch. I have a few go to sites for these and one of my favorites is PageMaps. I know a lot of you are probably familiar with this site because there are some totally fun layout sketches to be had there but in addition to these there are other sketch formats including cards and tags (both of these are totally fun for a hybrid artist). Check out the PageMaps archives for printable PDFs of these awesome sketches. For the card I made today I chose a sketch from the December 2007 CardMaps.

For this card I'm using Jennifer's fun new collab with Nikki Epperson: A Boy Named Trouble.


Once I pick my sketch and the kit I want to work with I then open up my scrapping software and create a 8.5"x11" canvas. I almost always make my cards 4.25"x5.5" (this is an 8.5"x11" sheet of cardstock cut in half width wise and then folded in half width wise). I like working with this size because you can get two cards out of a sheet of cardstock with no waste and they fit nicely in an A2 envelope (often known as invitation envelopes).

I start by cropping my background paper to 4"x5.25". If you decide to do a different sized card a good rule of thumb is to crop your background paper to .25" less both length wise and width wise to your card which will give you a nice even 1/8" border all the way around your paper. Next I layer the other papers and embellishments I would like on the card to make sure it all fits together nicely and the colors work together. Last I add a sentiment. In this case I just used my text tool and typed it in but you can also use alphas, word strips or wordart to add your sentiment. For those that are curious the font I used is His Name is Honey available at kevinandamanda.com which is a great resource for both decorative fonts and handwritten fonts.


After I'm happy with the way my card looks, I then move the items around so that they all fit nicely onto my canvas with no overlapping. Tip: Sometimes you have to rotate items to fit, like I did with the scalloped border.


Once I've done this I then print my card elements on matte presentation paper. I always wait until I print before choosing my cardstock so that I can make sure my cardstock color works well with my printed papers.


Once I've printed I start by cutting out what I can with my paper trimmer.


And then cut the remaining elements out with my scissors. For those of you that are afraid of scissors (and I know you are out there) my cuts are never perfect. In my opinion it's just part of what gives a homemade card it's charm.


Once all my papers and embellishments are cut out I then adhere everything to my card front (for this example I just used photo splits) and voila I have a cute card to send out to someone who needs to be reminded that they are indeed a star!

Read more...

Sunday, January 16, 2011

Scissors Sunday: Hybrid Inspiration

Hi everyone!  Jackie here with today's Scissors Sunday for you.  The moment I saw the latest collab from Jennifer - A Girl Named Trouble - I just knew I had to do something with pink in it!  Off to the craft store I went in search of the perfect little embellishments to use and I came upon some adorable pins:


I have never used pins before on my hybrid projects, but I have seen others do it and I have even bookmarked a few projects that I love.  When I got home, I looked through those projects and decided to lift this card by tiffguam at Splitcoaststampers:


Here is what I came up with:


I hope you enjoyed seeing how I went about making my card with Jennifer's new kit.  Be sure to share yours in her gallery over at The Digichick - we'd all love to see!

Read more...

Sunday, January 9, 2011

Scissors Sunday: Quick Card

Joana here on this Scissors Sunday to show you a quick and easy hybrid card I made using Jennifer's awesome collab with Amy Stoffel, A Fresh Start. This kit is fantastic for beautiful hybrid cards with its gorgeous papers and large doodled flowers and hearts. I love the light yellow scalloped border and knew I wanted to incorporate it into my card.


I used a card template for the general design and clipped the green papers to the template. I added a pink strip and the yellow scalloped strip and then selected the big green flower for my focal point.

I laid everything out on an 8.5x11 canvas so I could print it out. You'll notice the extra pink rectangle - when I print cards, I like to print extra paper so if I decide to add a sentiment or make a paper flower, I already have a matching scrap and don't have to go digging through my cardstock scraps looking for the perfect matching shade.


I printed out the page and started cutting. I decided to add the "Be Happy" sentiment from the labels2use stamp set by The {Stamps} of Life. I also found a couple of flowers in my stash, along with a bee brad that I added to the large flower. I popped up the sentiment and green flower using 3-D foam to add some dimension.


Voila! A clean and simple card that anyone would be happy to receive!

Read more...

Sunday, January 2, 2011

Scissors Sunday - Cutting Out Letters

Happy Sunday everyone! Sarah here and today I wanted to show you how I cut out small items like letters that have an opening in them. First the kit I used is Jennifer's Raining on Sunday. I just love the color palatte and the alpha that Jennifer included with the kit is chunky and therefore easier to cut out.

I also used Kelleigh Ratzlaff's Memo Box Template Set for this project. I am a note taker/list maker so this is the perfect project for me to begin the new year with.

For cutting out the letters these are the three things I find necessary. A hobby knife (I love my Fiskar's one shown here but an X-Acto knife works as well), a good pair of precision tip scissors, and a self healing cutting mat.


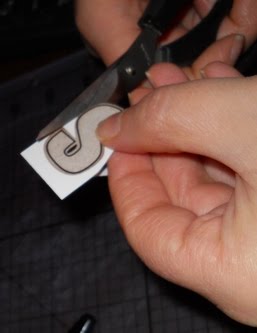
After printing I leave all the letters attached and begin by cutting out the centers of the letters with my craft knife. The first time I tried to cut out letters like this (back in my rubber stamping days) my instinct was to cut the letters out first and then try to cut out the centers. Having such a small piece to work with was much more dangerous to the fingers, having the larger sheet gives you much more control.


After I cut all the centers out I then take my scissors and carefully cut around the outside of each letter, you can do this with a craft knife as well but I really prefer my scissors for this, I just feel like I have a little more control with them.


Continue until you have all of the letters cut out.


Once this is done I then cut the flower out with my scissors and adhered everything to the memo box. I just love how pretty and functional this is.


Cutting things out like this really isn't difficult, it just take a little time and patience.

Thanks for stopping by and reading this. I hope you have a wonderful 2011!

Read more...
Related Posts with Thumbnails

Disclaimer

As a creative team member for several digital scrapbook designers, I have received their products for free in return for creating and posting projects (digital layouts, hybrids projects, etc). Many of the layouts you see here were done in conjunction with requirements for these creative teams. Please be advised that the products used were indeed received for free.
The Daily Scrapper - Topsites Best Scrapbooking Sites, Digital Scrapbooking, Scrapbook Supplies, Reviews, Awards
List of the Best Digital Scrapbooking Websites by Scrapbook MAX!SCRAPBOOKING TOP 500 The Daily Scrapper - Topsites Free Digital Scrapbooking

  © Blogger templates Newspaper III by Ourblogtemplates.com 2008

Back to TOP